 Save
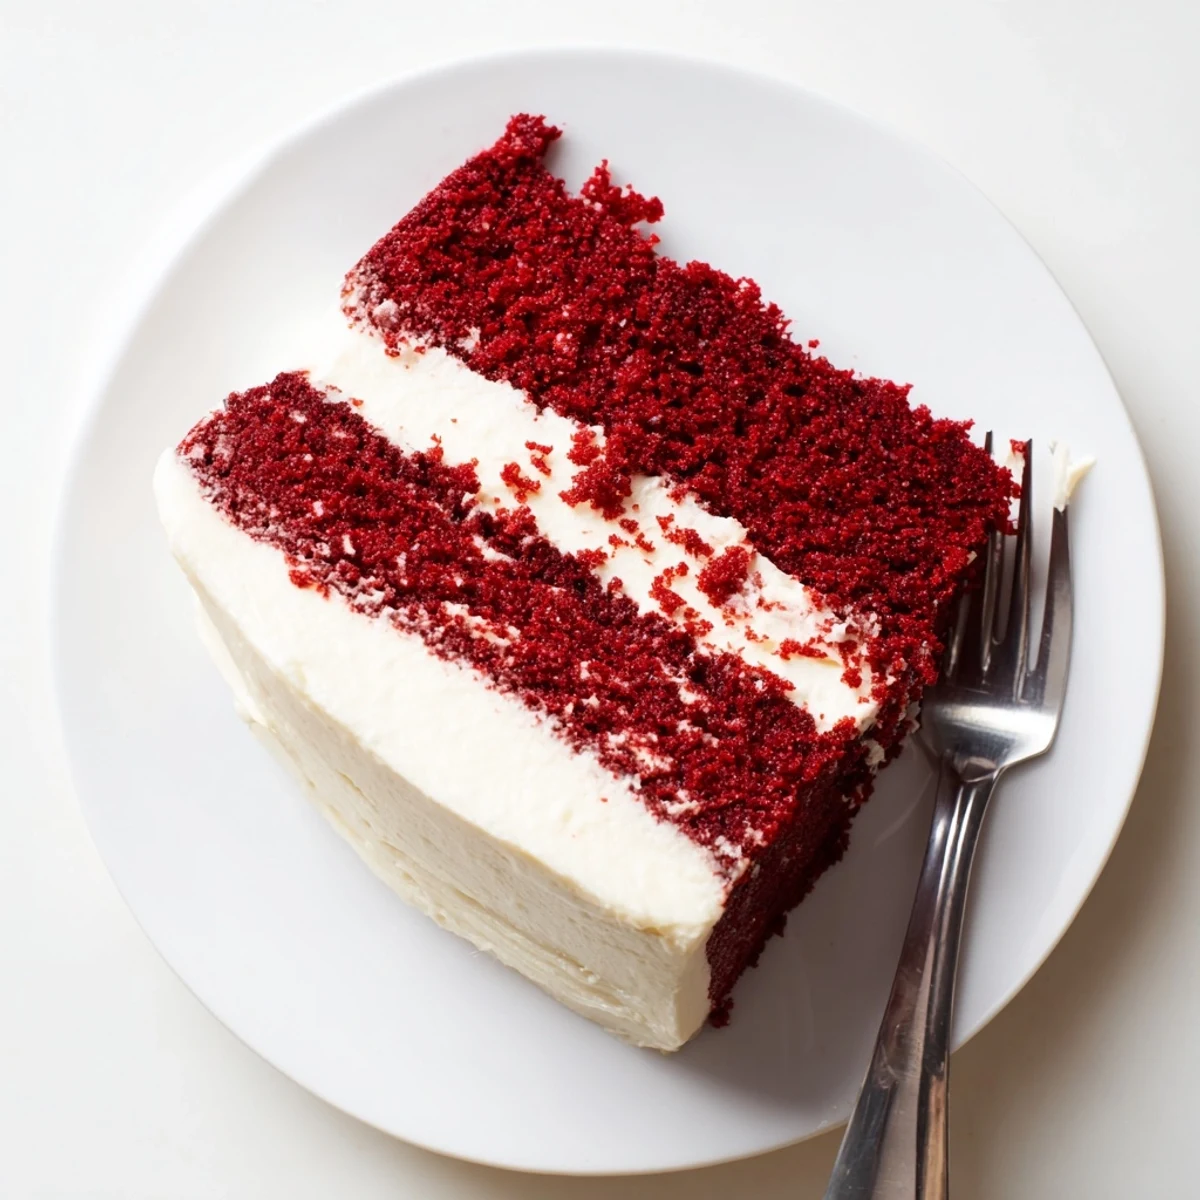
Save Create a stunning red velvet cake that's perfect for birthdays, holidays, or any special gathering. This classic American dessert features the signature vibrant red color, subtle chocolate undertones from premium cocoa, and an irresistibly moist crumb.
The tangy cream cheese frosting complements the sweet cake beautifully, while the straightforward preparation makes this achievable for bakers of all skill levels. With just 25 minutes of prep and 30 minutes in the oven, you'll have a showstopping centerpiece that serves 12 people.
Pro tips: room temperature ingredients ensure proper emulsion, while vinegar activates the baking soda for extra lift. Let layers cool completely before frosting to prevent melting.
The first time I attempted red velvet cake, I accidentally used too much food coloring and ended up with something that looked like it belonged in a horror movie rather than on a birthday table. My sister could not stop laughing, but we ate it anyway, and that mistake taught me that red velvet is more about texture than theatrics.
I made this for my friend Sarahs baby shower last spring, and halfway through frosting, I realized I had forgotten to sift the powdered sugar. There were tiny lumps everywhere, but we called them rustic charm and nobody seemed to mind when they tasted how rich it was.
Ingredients
- All-purpose flour: The foundation that gives this cake its tender crumb, so do not skip the sifting step
- Granulated sugar: Sweetens the batter and helps create that velvety texture we are after
- Baking soda: Works with the vinegar to give the cake its lift and signature fluffy interior
- Fine salt: Balances the sweetness and makes all the other flavors sing
- Unsweetened cocoa powder: Just enough to add depth without turning this into a chocolate cake
- Vegetable oil: Keeps the cake incredibly moist for days, unlike butter which can firm up
- Buttermilk: The acidity here is crucial for both tenderness and activating the baking soda
- Large eggs: Room temperature eggs incorporate better and help the cake rise evenly
- Red food coloring: Go for gel coloring instead of liquid for that deep crimson without altering the batter consistency
- Vanilla extract: Pure vanilla makes all the difference in both cake and frosting
- White vinegar: Reacts with the baking soda and buttermilk for that signature red velvet chemistry
- Cream cheese: Make sure it is properly softened or you will end up with lumpy frosting
- Unsalted butter: Room temperature butter blends seamlessly into the frosting
- Powdered sugar: Sifting is non-negotiable here unless you want specks in your silky frosting
Instructions
- Preheat your oven and prepare the pans:
- Get your oven to 350°F and grease two 9-inch round pans with butter, then dust them with flour, tapping out any excess.
- Whisk together the dry ingredients:
- In a medium bowl, sift the flour, sugar, baking soda, salt, and cocoa powder together to ensure there are no lumps.
- Combine the wet ingredients:
- In a large bowl, whisk the oil, buttermilk, eggs, food coloring, vanilla, and vinegar until the mixture is completely uniform.
- Mix the batter:
- Gradually fold the dry ingredients into the wet mixture, stirring just until you cannot see any dry pockets.
- Bake the layers:
- Divide the batter evenly between your prepared pans and bake for 28 to 30 minutes, until a toothpick comes out clean.
- Cool completely:
- Let the cakes rest in their pans for 10 minutes before turning them out onto a wire rack to cool entirely.
- Make the frosting:
- Beat the softened cream cheese and butter until smooth, then gradually mix in the sifted powdered sugar, vanilla, and salt until fluffy.
- Assemble the cake:
- Place one layer on your serving plate, spread frosting over the top, add the second layer, then frost the top and sides.
- Chill before serving:
- Refrigerate the finished cake for 30 minutes to set the frosting, which will give you cleaner slices.
 Save
Save This cake has become my go-to for celebrations because it never fails to make people pause and appreciate that first bite. There is something about the contrast between the slight tang of the cake and the sweet creaminess of the frosting that feels like a hug in dessert form.
Making It Ahead
You can bake the cake layers a day in advance and wrap them tightly in plastic wrap at room temperature. The frosting can also be made ahead and stored in the refrigerator, but let it come to room temperature before spreading to avoid tearing the cake.
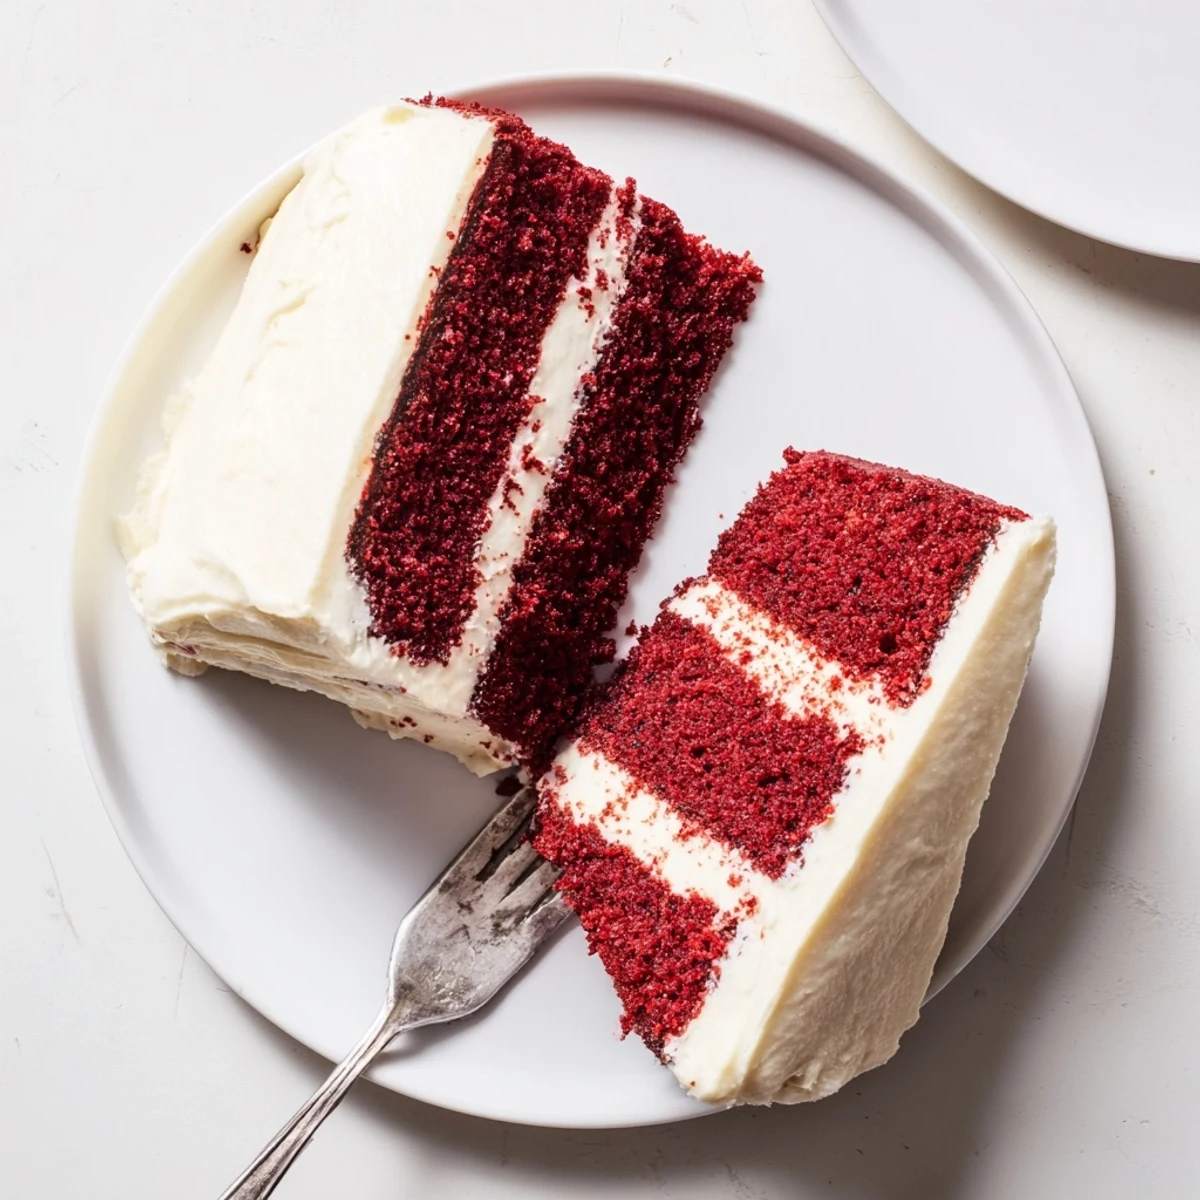
Getting That Perfect Red Color
Gel food coloring is your best bet for achieving that deep red without adding too much liquid to your batter. Start with a small amount and add more gradually, remembering that the color will deepen slightly as the cake bakes.
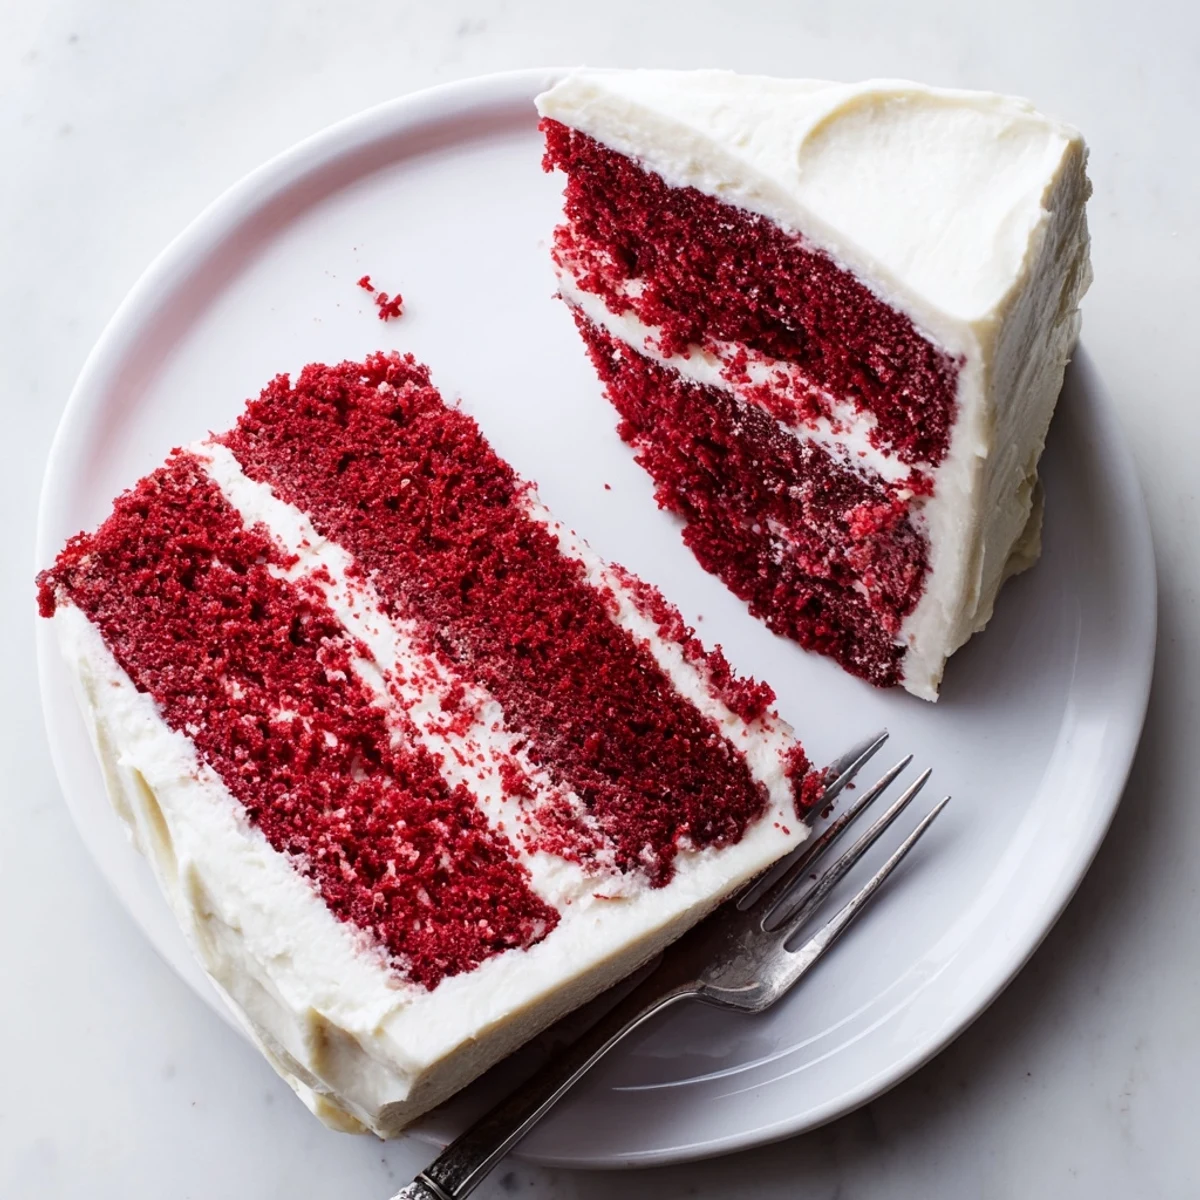
Serving Suggestions
This cake is rich enough to stand on its own, but fresh berries or a dusting of cocoa powder on top can make it even more stunning for special occasions.
- Serve slightly chilled for the cleanest slices
- Use a hot knife to get those perfectly smooth frosting lines
- Let the cake sit at room temperature for 20 minutes before serving for the best texture
 Save
Save Every time I pull this cake out of the oven and see that vibrant red, I remember why baking feels like magic. Hope it brings some joy to your table too.
Common Questions
- → Why is my red velvet cake dry?
-
Overbaking is the most common cause. Check at 28 minutes and remove when toothpick comes clean with few moist crumbs. Using room temperature ingredients also helps maintain moisture.
- → Can I make red velvet cake ahead of time?
-
Absolutely. Bake layers up to 2 days ahead, wrap tightly in plastic, and refrigerate. Frost the day of serving for best texture. Unfrosted layers freeze well for up to 3 months.
- → What makes red velvet cake different from chocolate cake?
-
Red velvet uses minimal cocoa for subtle flavor, relies on buttermilk and vinegar for tenderness, and has a distinctive velvety crumb. The reaction between acidic ingredients and baking soda creates its signature texture.
- → How do I get the vibrant red color?
-
Use gel food coloring for intense color without thinning the batter. Liquid food coloring works but may require 2-3 tablespoons. Natural beet juice alternatives produce a deeper crimson rather than bright red.
- → Can I use box mix instead of scratch ingredients?
-
While convenient, scratch ingredients produce superior texture and flavor control. The buttermilk and oil combination creates unmatched moistness that box mixes struggle to replicate.