 Save
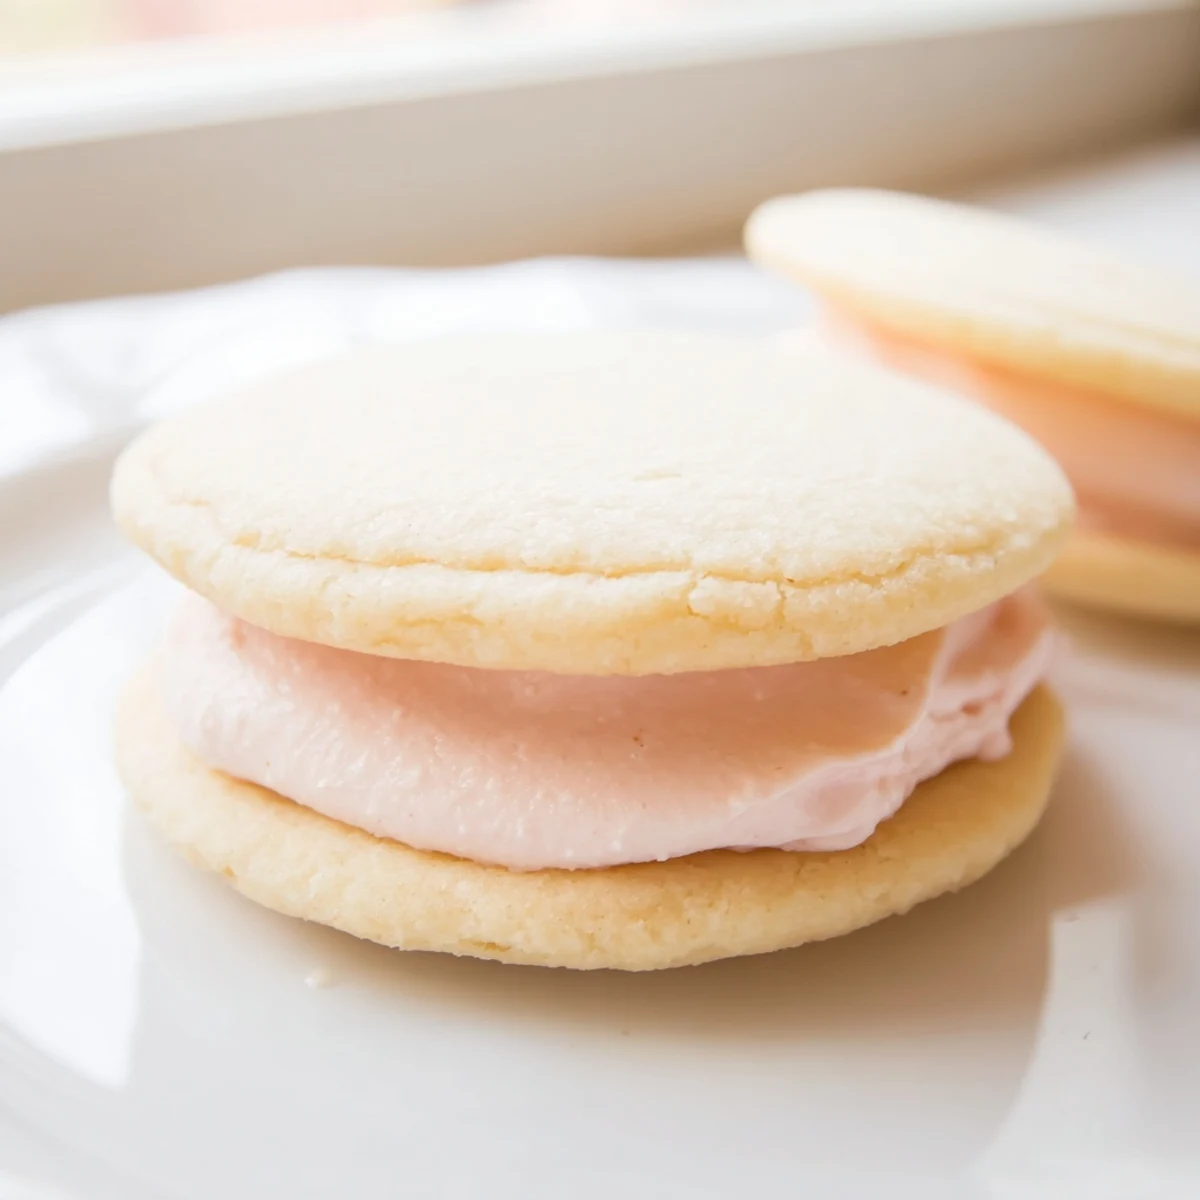
Save These delicate sugar cookie sandwiches feature tender, buttery rounds paired with pastel-colored buttercream filling. The dough requires chilling for easy handling, while the homemade buttercream can be tinted in soft shades of pink, yellow, green, blue, or purple. Perfect for spring celebrations, baby showers, or elegant afternoon tea service, these handheld treats combine classic vanilla flavor with playful visual appeal. The assembly process allows for creative customization through different colors and optional sprinkle edges.
The first time I made these pastel sugar cookie sandwiches, it was actually by accident. I had planned to make simple sugar cookies for my daughters spring birthday, but she walked into the kitchen with her eyes fixed on a jar of gel food coloring I'd left out on the counter. Can we make them look like Easter eggs? she asked, and suddenly those plain cookies were transformed into something magical. Now I can't imagine spring without these colorful, whimsical treats stacked on my counter.
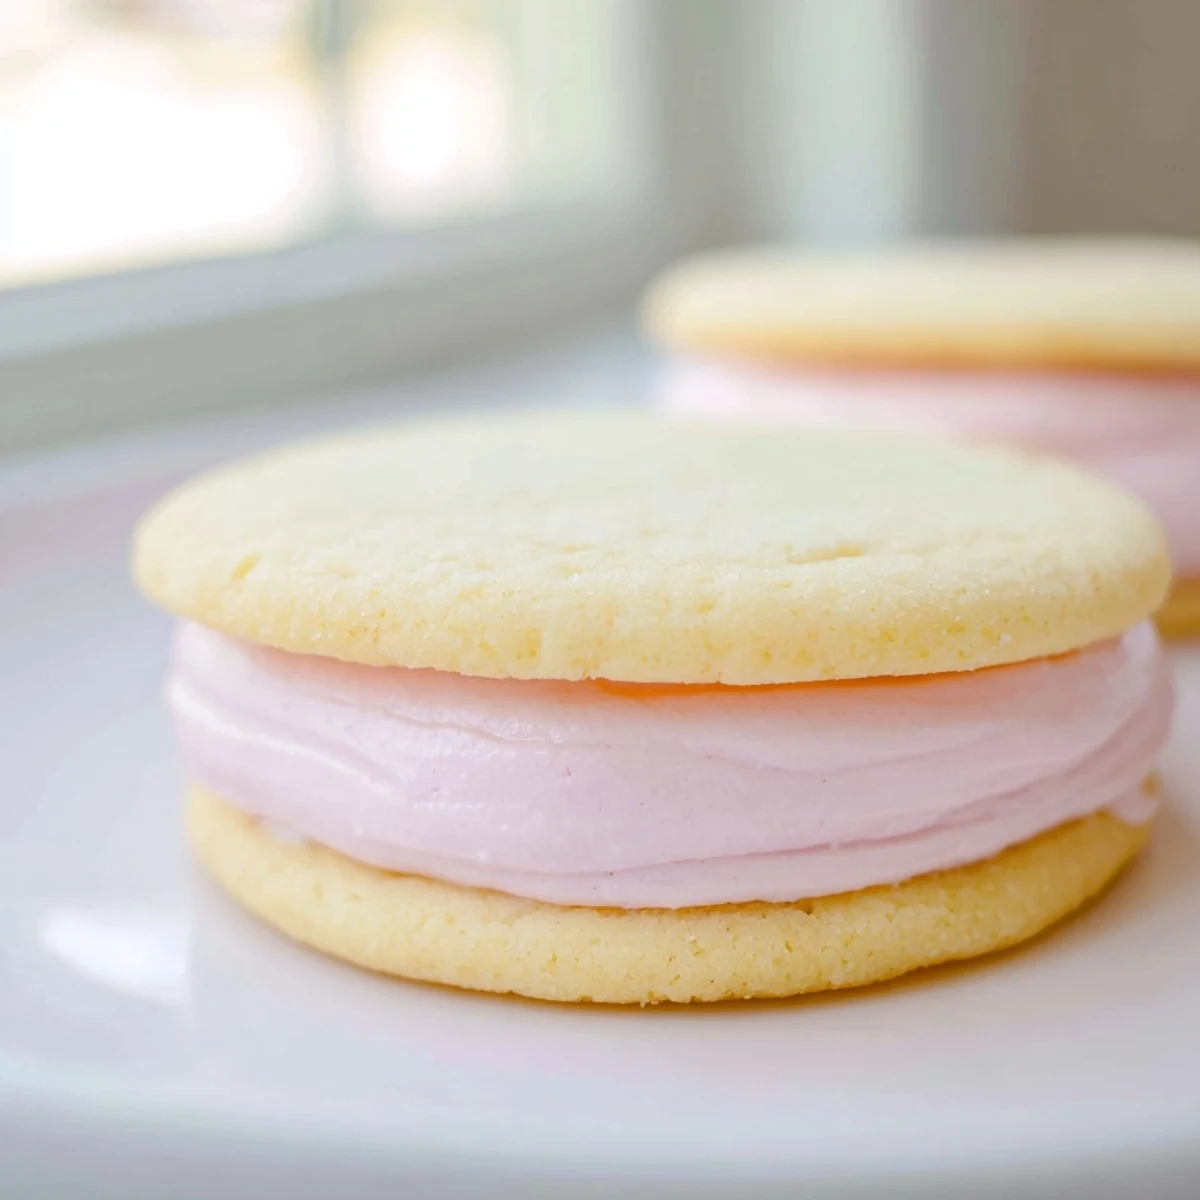
Last spring, I made a batch for our neighborhood book club meeting, and honestly, they were the star of the show. My neighbor Sarah actually took a picture of them before anyone even touched the platter, which is saying something considering we usually dive into snacks the moment they hit the table. There's something about that delicate pastel buttercream peeking out between the cookies that makes people pause and smile.
Ingredients
- All-purpose flour (2 ½ cups): The foundation of these tender cookies—weighing it ensures consistent texture every time.
- Baking powder (½ teaspoon): Just enough to give the cookies a subtle lift without making them cakey or puffy.
- Salt (¼ teaspoon): Balances the sweetness and enhances all the flavors in both cookies and filling.
- Unsalted butter (¾ cup for cookies, ½ cup for filling): Room temperature butter is non-negotiable here—it creams properly with sugar for the perfect texture.
- Granulated sugar (1 cup): Creates crisp edges while keeping the centers soft and tender.
- Large egg (1): Binds the dough together and adds richness for a cookie that doesn't crumble when you bite into it.
- Pure vanilla extract (1 teaspoon for cookies, 1 teaspoon for filling): Real vanilla makes a noticeable difference in the finished flavor.
- Powdered sugar (2 cups): Sifting it first prevents lumps in your silky smooth buttercream filling.
- Milk (1 ½ tablespoons): Adjust this to get your buttercream to the perfect spreadable consistency.
- Pastel gel food coloring: Gel colors give you those soft, dreamy pastels without adding too much liquid to your frosting.
Instructions
- Whisk the dry ingredients:
- In a medium bowl, combine the flour, baking powder, and salt until evenly distributed.
- Cream the butter and sugar:
- Beat the butter and granulated sugar on medium speed for 2 to 3 minutes until the mixture looks pale and fluffy.
- Add the egg and vanilla:
- Mix in the egg and vanilla extract until everything is thoroughly combined and the mixture looks smooth.
- Incorporate the flour mixture:
- Gradually add the dry ingredients, mixing just until you no longer see streaks of flour.
- Chill the dough:
- Divide the dough in half, flatten into discs, wrap in plastic, and refrigerate for at least 30 minutes.
- Preheat and prepare:
- Heat your oven to 350°F (175°C) and line two baking sheets with parchment paper.
- Roll and cut:
- On a lightly floured surface, roll one disc to ¼ inch thickness and cut rounds with a 2-inch cookie cutter.
- Bake the cookies:
- Arrange cookies 1 inch apart on prepared sheets and bake for 8 to 10 minutes until edges just begin turning golden.
- Cool completely:
- Let cookies rest on baking sheets for 2 minutes, then transfer to cooling racks until completely cool.
- Make the buttercream:
- Beat the butter until creamy, then gradually add powdered sugar, milk, vanilla, and salt until smooth and fluffy.
- Color the frosting:
- Divide the buttercream into small bowls and tint each with a different pastel gel food coloring.
- Assemble the sandwiches:
- Spread or pipe buttercream on the flat side of half the cookies and top with remaining cookies.
- Set before serving:
- Let assembled cookies rest for 20 minutes so the buttercream firms up slightly.
 Save
Save My youngest daughter helped me make these for her class spring celebration last year, and the pride on her face when she walked in with that tower of colorful cookies was absolutely worth the extra flour on my kitchen floor. They disappeared faster than any treat I've ever sent to school.
Making Perfect Pastels
Gel food coloring is concentrated, so start with the tiniest amount on the tip of a toothpick and gradually add more until you reach your desired shade. I learned the hard way that you can always add more color, but you can't take it back once you've gone too dark.
Assembly Tips
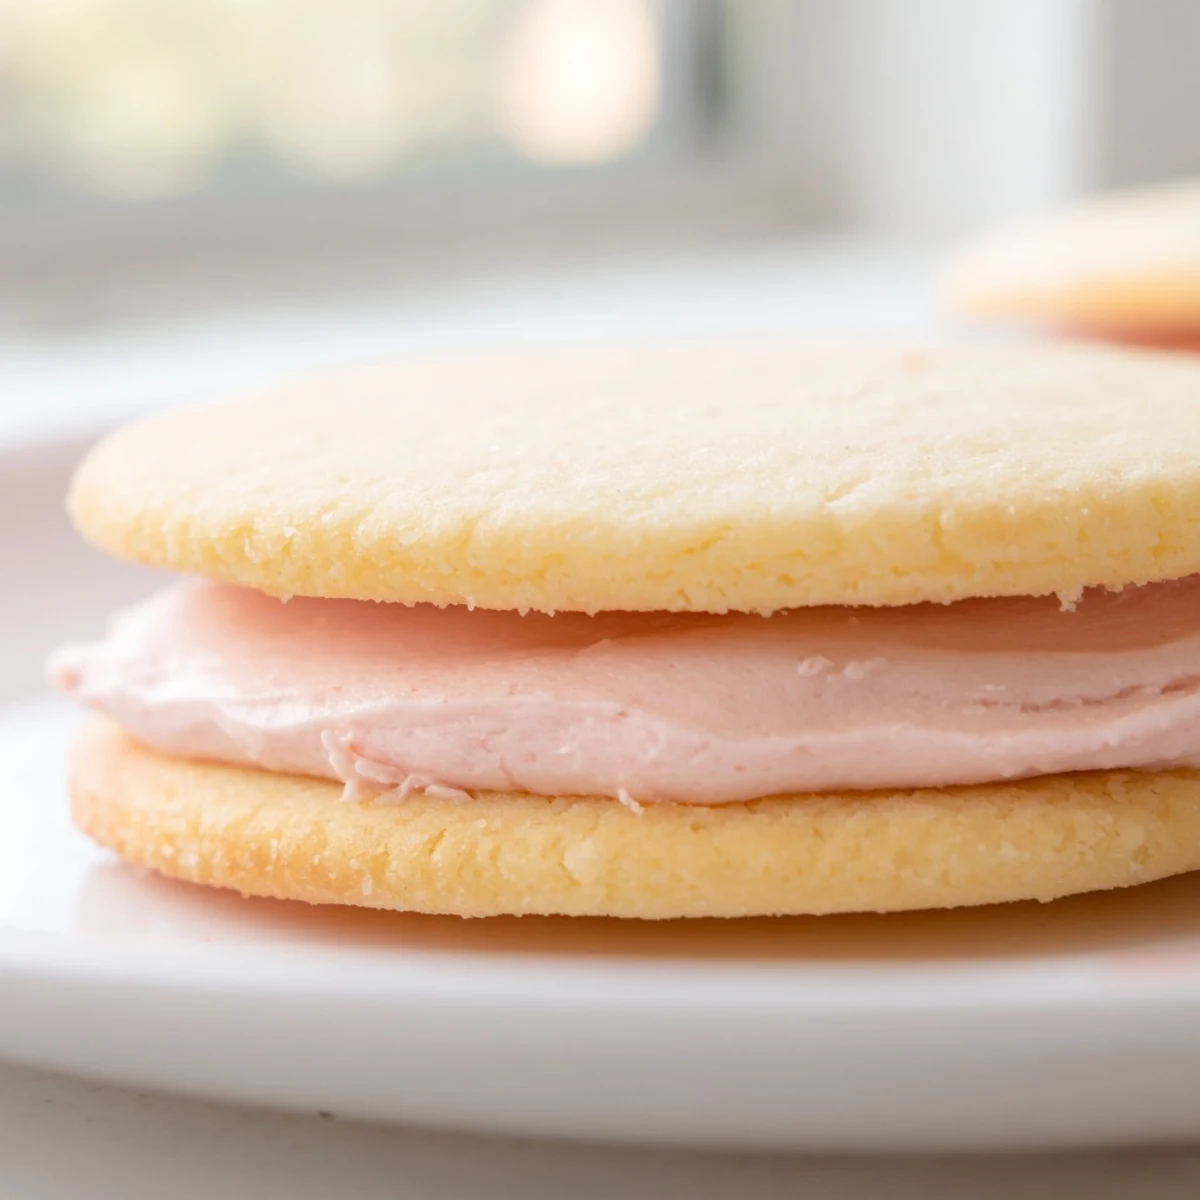
For the most professional looking cookies, pair similar-sized cookies together and always spread buttercream on the flat bottom side rather than the domed top. The flat sides fit together perfectly and your sandwiches won't wobble or slide around.
Storage and Make-Ahead
You can make the sugar cookie dough up to three days in advance and keep it wrapped tightly in the refrigerator. The baked cookies store beautifully in an airtight container at room temperature for up to three days, though I'll be honest—they rarely last that long in my house.
- Freeze unbaked cookie dough discs for up to three months and thaw in the refrigerator before rolling and baking.
- Assembled sandwiches can be frozen for up to one month—layer them between parchment paper in an airtight container.
- If your buttercream becomes too soft while working, pop the bowl in the refrigerator for 10 minutes to firm it up again.
 Save
Save These pastel sugar cookie sandwiches have become my go-to for spring gatherings, baby showers, and anytime I need something that looks special but doesn't require professional decorating skills. Hope they bring a little color to your kitchen too.
Common Questions
- → How long should the cookie dough chill before rolling?
-
Refrigerate the dough for at least 30 minutes. This chilling period prevents the cookies from spreading too much during baking and makes the dough easier to roll out to an even thickness.
- → Can I make the buttercream filling ahead of time?
-
Yes, prepare the buttercream up to 2 days in advance and store it in an airtight container at room temperature. Give it a quick stir before tinting and assembling the sandwiches.
- → What's the best way to achieve even pastel colors?
-
Use gel food coloring rather than liquid, starting with a tiny amount on a toothpick. Gel colors are more concentrated, allowing you to build soft, pastel shades without thinning the buttercream consistency.
- → How should I store the completed sandwich cookies?
-
Keep assembled cookies in an airtight container at room temperature for up to 3 days. The buttercream will set slightly after assembly, making them easier to stack and transport.
- → Can I freeze the baked cookies before assembling?
-
Bake and cool the cookies completely, then freeze them in layers separated by parchment paper for up to 3 months. Thaw at room temperature and fill with fresh buttercream when ready to serve.
- → What other extract flavors work well in this filling?
-
Almond, lemon, or orange extracts make excellent alternatives to vanilla. Use half the amount if using almond extract, as its flavor is more potent than citrus varieties.