 Save
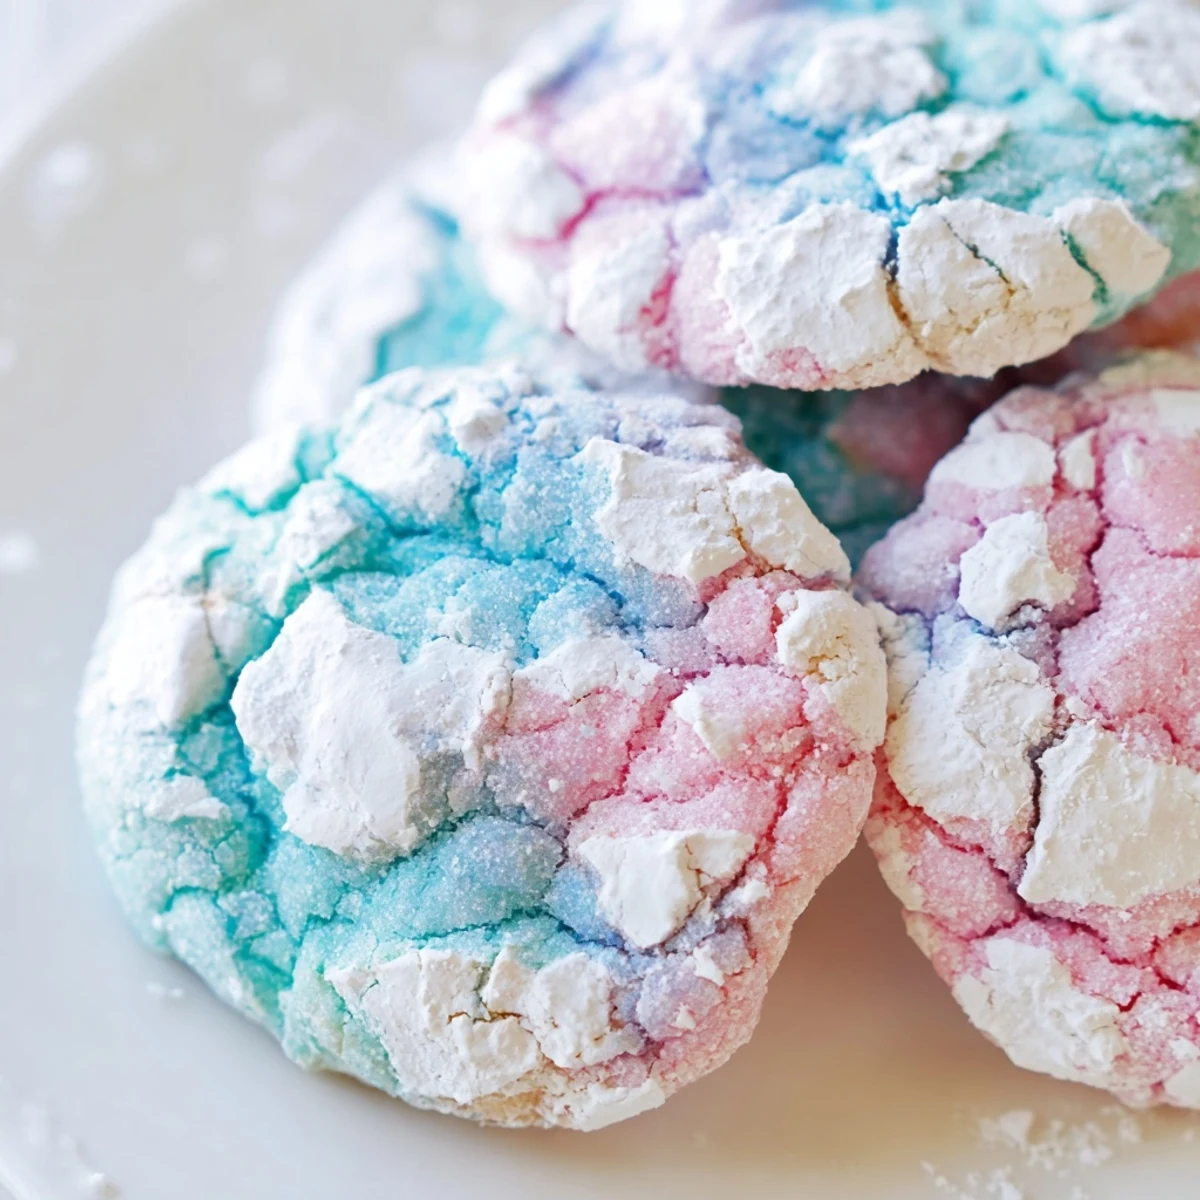
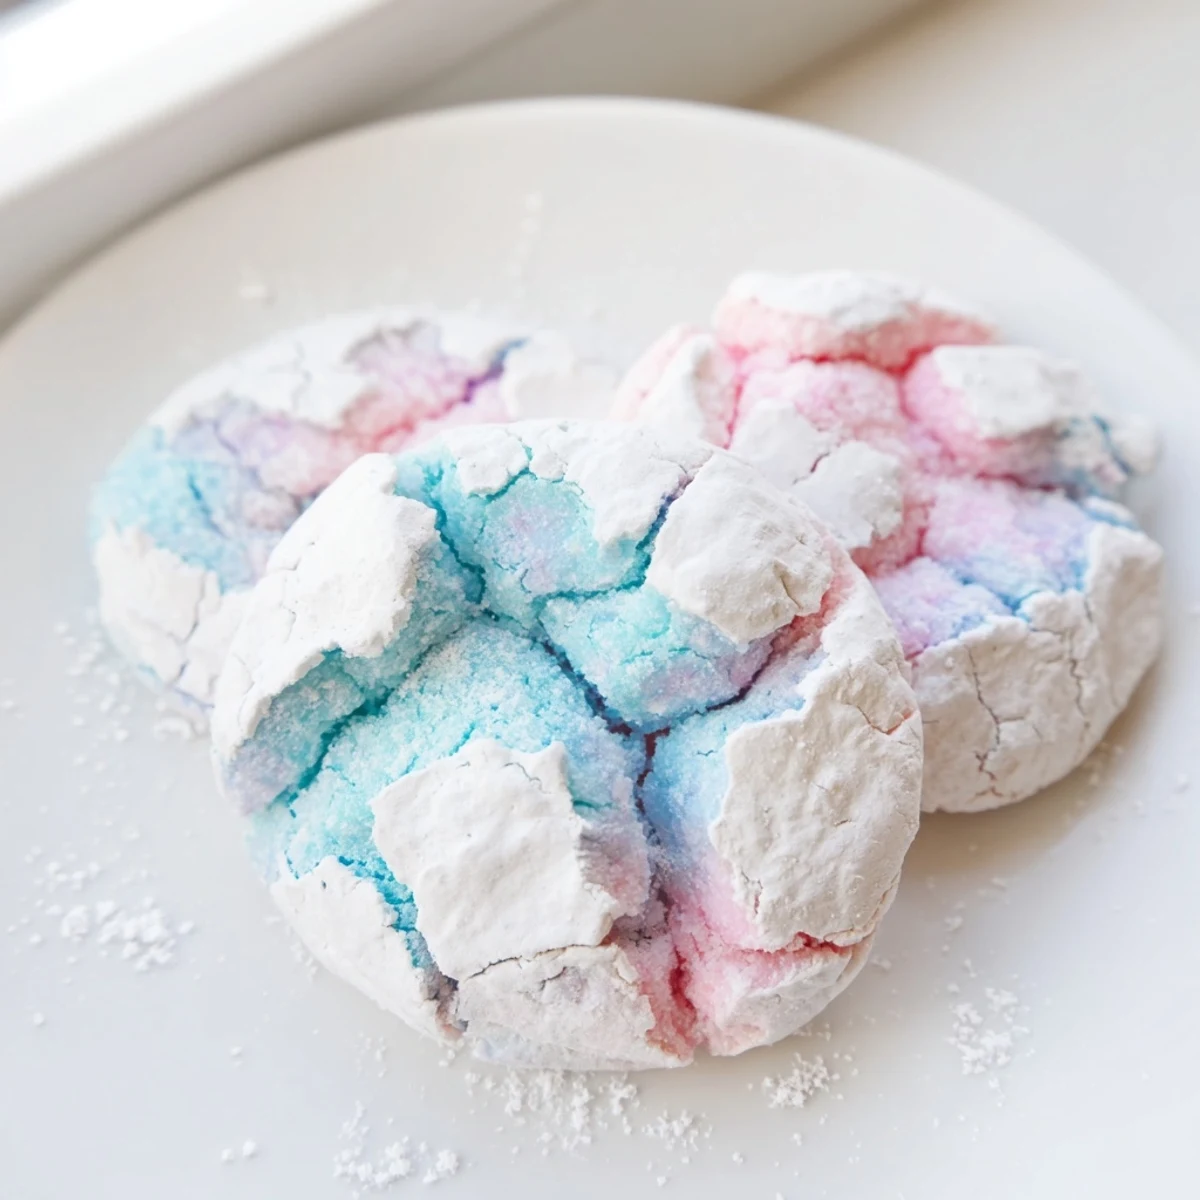
Save Create beautiful soft, chewy cookies with a distinctive crackled appearance and delicate pastel hues. These treats feature a tender crumb coated generously in powdered sugar that creates the classic crinkle effect during baking.
The simple dough comes together quickly with pantry staples, then gets divided and tinted with gel food coloring in your chosen shades. A brief chill ensures perfect texture before rolling in sugar and baking.
Ready in just 30 minutes total time, these colorful cookies are ideal for spring celebrations, birthday parties, or whenever you want something sweet and visually stunning.
My daughter spotted these in a bakery window last spring, pressed her nose against the glass, and declared they were fairy dust cookies. We went home and made our own version that afternoon, kitchen counters covered in pastel streaks and powdered sugar clouds like we'd been visited by color-happy sprites.
Last Easter, my sister insisted I bring these to the family gathering. Her kids grabbed them by the handfuls, leaving powdered sugar handprints everywhere. By the time dessert officially started, the platter was empty and my nephew was asking if we could make them for his birthday instead of cake.
Ingredients
- All-purpose flour: Provides the structure for those beautiful crackled tops we love
- Baking powder: Gives the cookies just enough lift to stay soft and chewy
- Salt: Balances sweetness and enhances all the delicate flavors
- Unsalted butter: Softened to room temperature creates the perfect creamy base
- Granulated sugar: Creamed with butter for that tender crumb we want
- Large eggs: Room temperature eggs incorporate better for consistent texture
- Vanilla extract: Pure vanilla adds warmth and depth to complement the colors
- Whole milk: Adds just enough moisture to keep cookies soft for days
- Gel food coloring: Use gel instead of liquid for vibrant pastels without thinning your dough
- Powdered sugar: The magical coating that creates those signature crackles
Instructions
- Get your oven ready:
- Preheat to 350°F and line two baking sheets with parchment paper so nothing sticks
- Mix the dry ingredients:
- Whisk together flour, baking powder, and salt in a medium bowl until well combined
- Cream the butter and sugar:
- Beat them together until light and fluffy, which takes about 3 minutes of patient mixing
- Add the wet ingredients:
- Beat in eggs one at a time, then stir in vanilla until everything is smooth
- Combine everything:
- Add flour mixture in two parts, alternating with milk, mixing until just combined
- Divide and color:
- Split dough into 3 or 4 bowls and tint each with gel coloring for soft pastel shades
- Chill if needed:
- If dough feels too sticky or warm, refrigerate for 20 minutes for easier handling
- Roll and coat:
- Scoop tablespoon-sized balls, roll generously in powdered sugar until completely white
- Bake to perfection:
- Bake for 10 to 12 minutes until edges are set but centers still look slightly soft
- Cool completely:
- Let them rest on the baking sheet for 5 minutes before moving to a wire rack
 Save
Save These became my go-to contribution for baby showers and birthday parties after a friend asked for the recipe at a brunch three years ago. Something about the pastel colors makes people smile before they even take a bite.
Getting the Perfect Pastel Colors
I learned the hard way that liquid food coloring turns dough sticky and changes the texture. Gel coloring is concentrated, so start with a tiny amount on a toothpick. You can always add more, but you cannot take it back. Mix gently with a spatula to avoid overworking the dough, which makes cookies tough instead of tender.
Making These Ahead
Scoop the colored dough balls and roll them in powdered sugar, then freeze on a baking sheet until firm. Transfer to a freezer bag and bake directly from frozen, adding just 1 to 2 minutes to the baking time. This has saved me so many times when I need last-minute treats for unexpected guests or school events.
Serving and Storing
These cookies stay soft and chewy for up to 5 days in an airtight container at room temperature. Layer them between parchment paper to prevent sticking, especially in humid weather. They also freeze beautifully for up to 3 months if you want to stock up for future celebrations.
- Package them in clear bags tied with pastel ribbon for effortless gifting
- Arrange them on a cake stand for an instant dessert table centerpiece
- Pair with lemonade or iced tea for the perfect spring afternoon treat
 Save
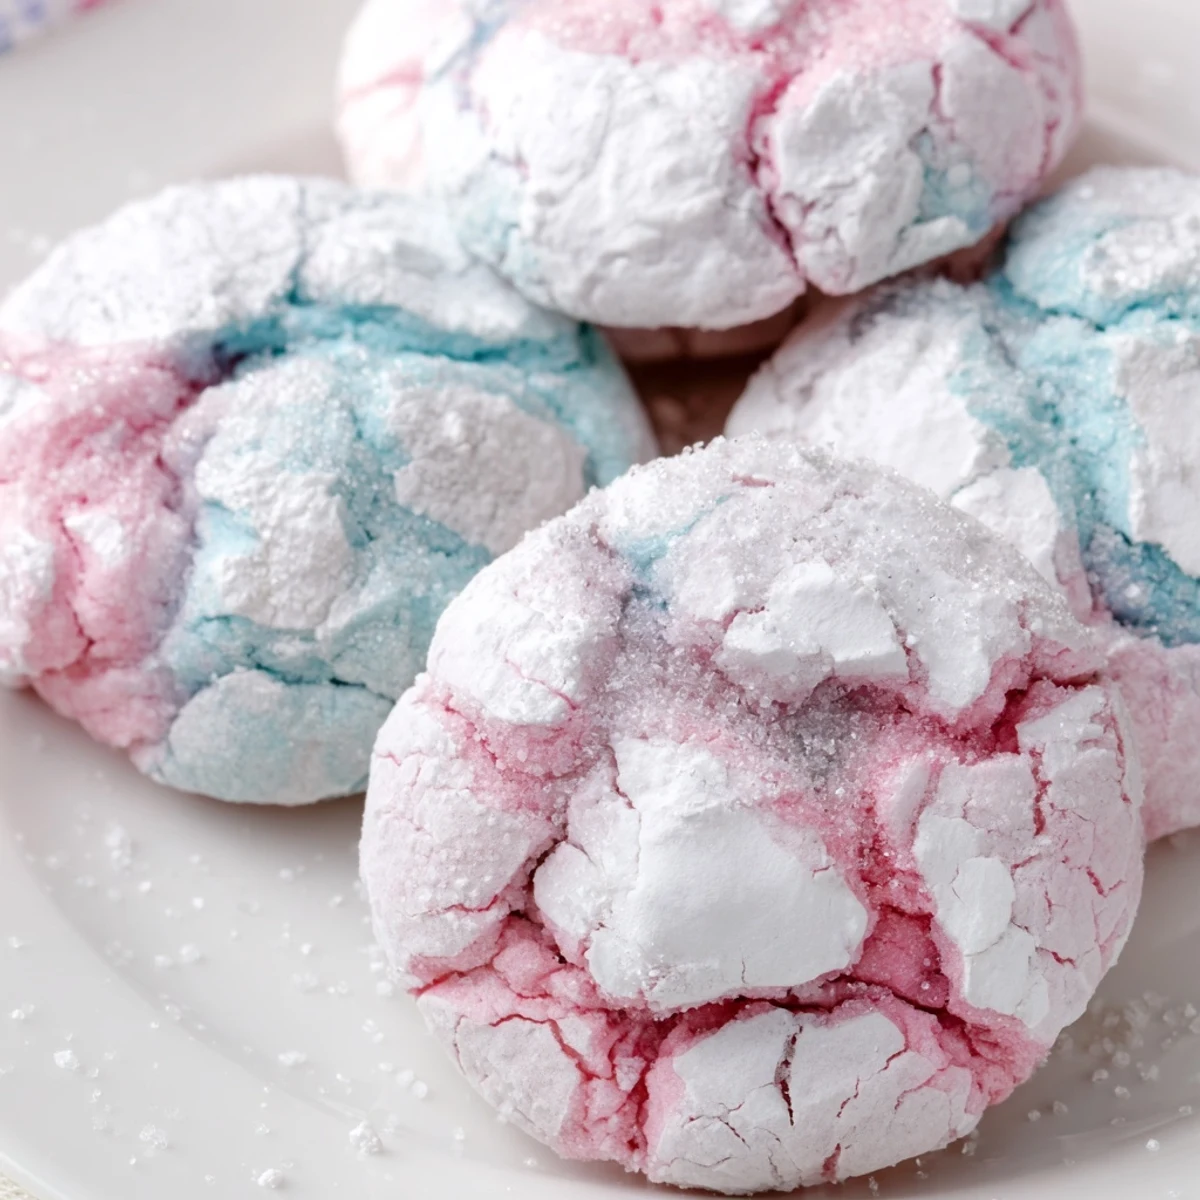
Save There is something joyful about pulling a tray of these from the oven, seeing how the cracks formed and the colors deepened. Hope they bring as much color to your kitchen as they have to mine.
Common Questions
- → Why do my cookies lose their crackled pattern?
-
The crackled effect forms when powdered sugar coating creates contrast against the expanding dough. If your kitchen is very warm or dough wasn't chilled sufficiently, the sugar may absorb into the dough before baking. Try chilling the coated dough for 10-15 minutes before baking.
- → Can I use liquid food coloring instead of gel?
-
Liquid food coloring will work but may make the dough sticky and affect texture. Gel coloring provides vibrant color with minimal liquid. If using liquid, start with tiny drops and add gradually, chilling dough as needed to maintain consistency.
- → How do I know when the cookies are done?
-
The cookies are ready when edges are set and slightly firm but centers still look soft and underbaked. They should have visible cracks across the powdered sugar surface. Avoid overbaking as this will compromise the chewy texture.
- → Can I freeze the dough or baked cookies?
-
Yes, both freeze well. For dough, shape into balls, roll in sugar, freeze on a tray, then transfer to a freezer bag for up to 3 months. Bake from frozen adding 1-2 minutes. Baked cookies freeze for up to 2 months in an airtight container.
- → What causes the cookies to spread too much?
-
Excessive spreading usually means the dough was too warm or butter was overly softened. Room temperature butter should still hold a thumbprint when pressed. If dough feels sticky or warm, chill for 20-30 minutes before shaping and baking.
- → Can I make these into different flavors?
-
Absolutely. Replace vanilla with lemon, almond, orange, or coconut extract. Add citrus zest, chocolate chips, or sprinkles to the colored dough portions. The vanilla base adapts beautifully to many flavor combinations.