 Save
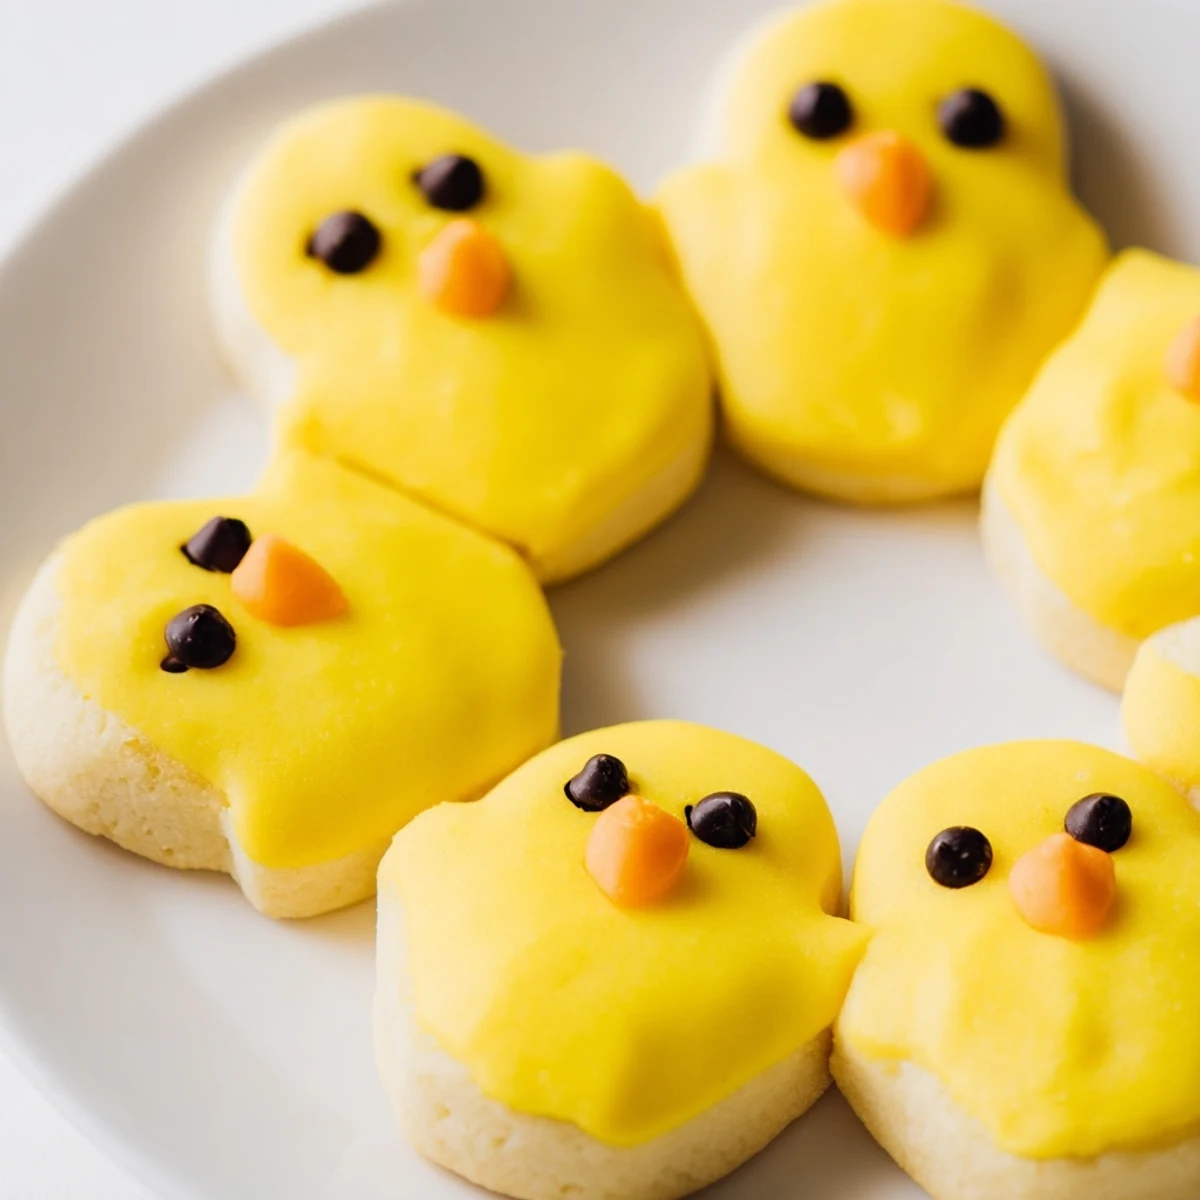
Save These charming chick-shaped cookies combine soft buttery dough with bright yellow coloring for an irresistible spring treat. The process begins with creaming butter and sugar until fluffy, then incorporating vanilla and a single egg for richness. After adding yellow food coloring directly to the dough, you'll shape the cookies using two balls of dough—one larger for the body and a smaller one pressed on top for the head.
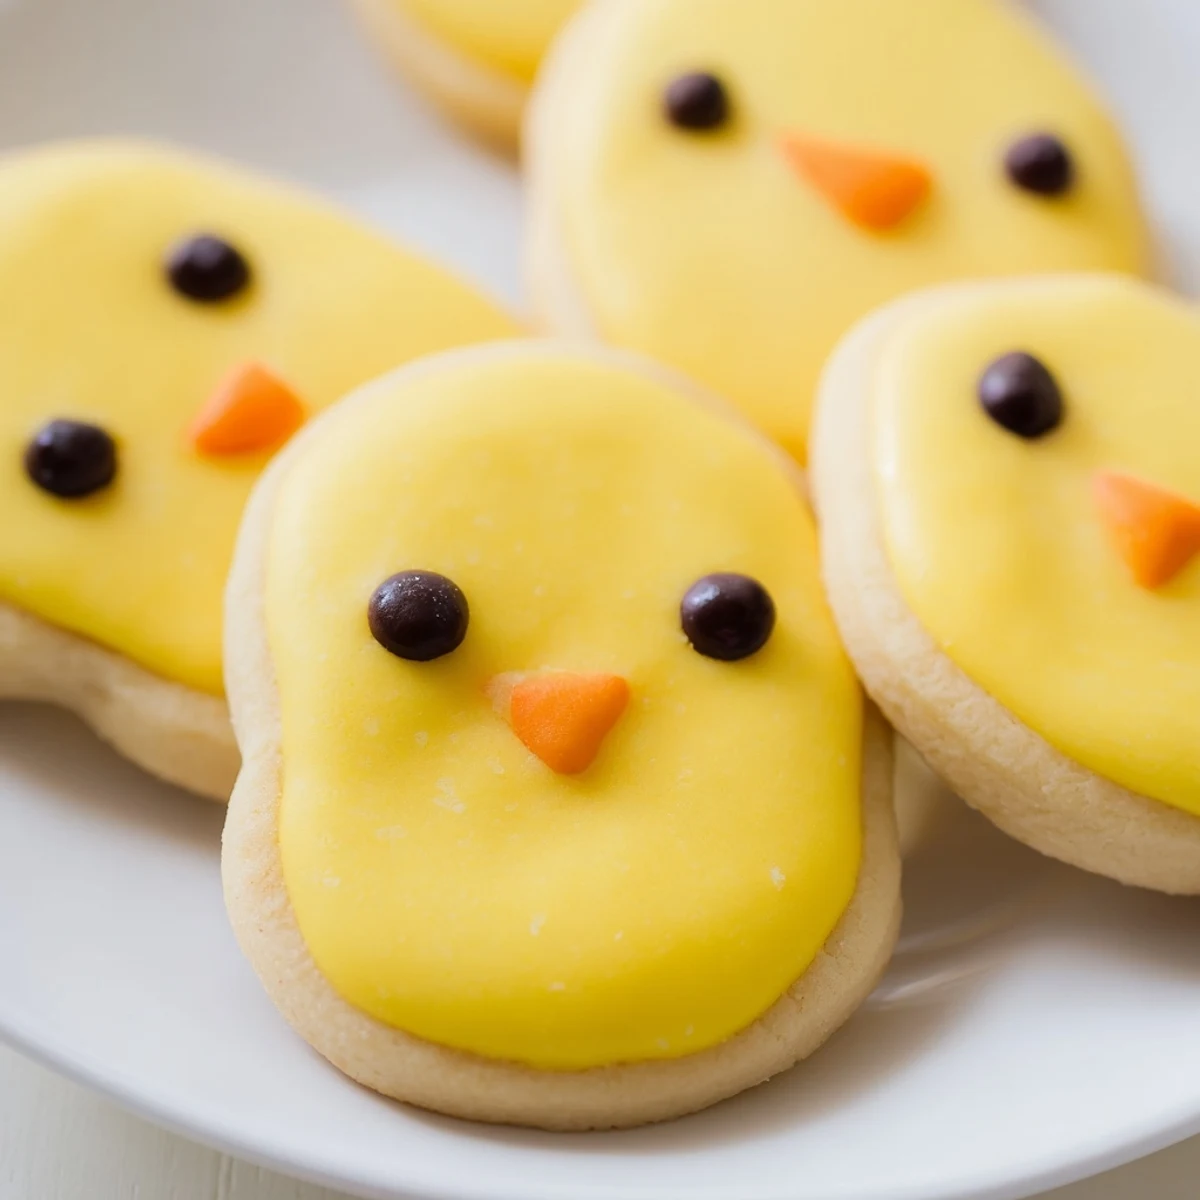
The cookies bake quickly at 350°F for just 8-10 minutes, emerging with tender edges and a golden bottom. Once cooled, a simple powdered sugar glaze adds extra shine and sweetness. The final touch involves adding expressive eyes with black decorating gel or mini chocolate chips and orange beaks using gel or candy pieces.
These adorable treats come together in just 30 minutes total time and yield 24 cookies—perfect for classroom parties, Easter gatherings, or spring birthdays. The dough can be chilled for easier handling if needed, and you can customize with sprinkles or colored sugars for even more festive flair.
Last spring my daughter asked if we could make something that looked like the baby chicks in our garden. I stared at her for a second trying to imagine how you even make a cookie look like a bird. That afternoon we ended up with flour everywhere and the cutest little yellow cookies I have ever seen.
I brought a batch to my nieces birthday party last month and watched six children crowd around the platter. They were picking out their favorite chick by the expressions we had drawn on them. My niece whispered that the one with the crooked beak looked exactly like our grumpy neighbor.
Ingredients
- 2 1/4 cups all-purpose flour: The foundation of your cookie dough. Sifting it first makes for an especially tender crumb.
- 1/2 teaspoon baking powder: Gives these cookies just enough lift to stay soft and pillowy instead of flat.
- 1/4 teaspoon salt: A tiny pinch balances all that sugar and makes the butter flavor pop.
- 3/4 cup unsalted butter at room temperature: Soft butter is nonnegotiable here. Cold butter creates a stubborn dough that fights back.
- 3/4 cup granulated sugar: Sweetens the dough and helps create that crisp edge while keeping centers soft.
- 1 large egg: Binds everything together and adds richness to the crumb.
- 1 teaspoon vanilla extract: Pure vanilla makes these taste like a proper homemade cookie. The imitation stuff works but never quite hits the same notes.
- Yellow food coloring: Gel coloring works best and produces the most vibrant golden chick color without thinning the dough.
- 3/4 cup powdered sugar: Whisked with milk to create a simple glaze that makes these chicks look freshly hatched.
- 2 tablespoons milk: Just enough to turn the powdered sugar into a drizzle. Add drop by drop until you reach the right consistency.
- Black decorating gel or mini chocolate chips: For the eyes. Chocolate chips can be tricky to place precisely but gel pens give you total control.
- Orange decorating gel or candy: The beaks make or break the chick expression. Orange candy melts work beautifully if you can find them.
Instructions
- Preheat your oven:
- Get it to 350°F and line two baking sheets with parchment paper. The parchment is worth it because these buttery cookies will stick otherwise.
- Mix the dry ingredients:
- Whisk together flour baking powder and salt in a medium bowl. You want everything evenly distributed before it meets the butter.
- Cream the butter and sugar:
- Beat them together until the mixture looks pale and fluffy. This usually takes 2 to 3 minutes and creates those lovely crisp edges.
- Add the egg and vanilla:
- Crack in the egg pour in the vanilla and beat until everything looks smooth and combined. Scrape down the sides of the bowl once.
- Combine the dough:
- Gradually mix in the dry ingredients on low speed. The dough will be soft but should hold together when you squeeze it.
- Color the dough yellow:
- Add food coloring a few drops at a time and knead until the color is evenly distributed. Gel coloring keeps the texture perfect.
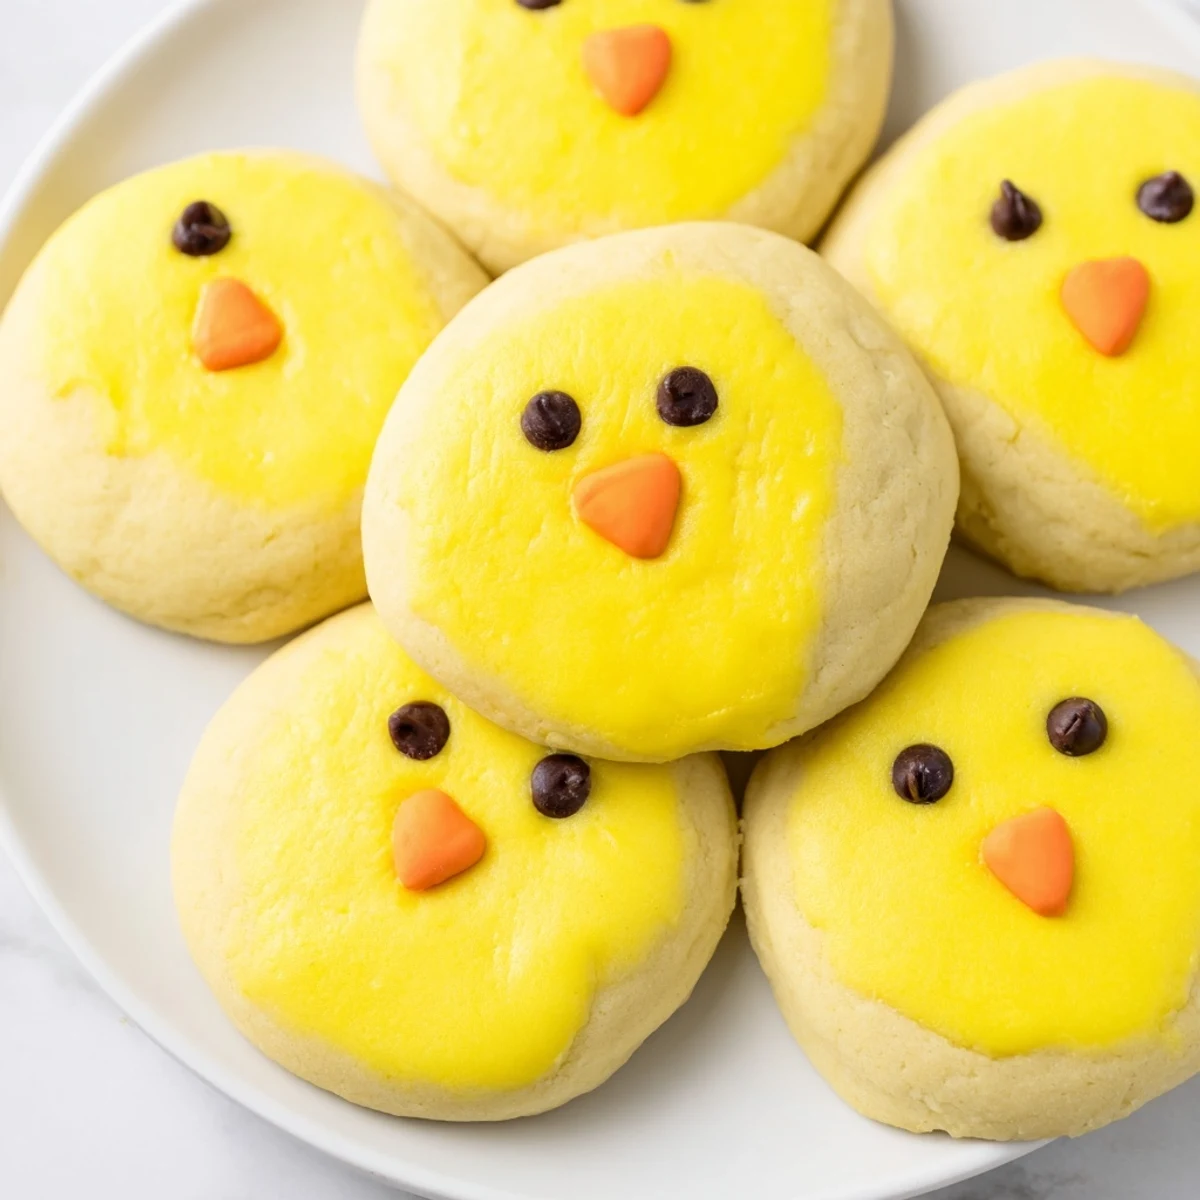
- Shape the chicks:
- Roll one 1inch ball for the body and a slightly smaller ball for the head. Gently press them together on the baking sheet.
- Space them out:
- Leave about 2 inches between cookies. They spread just enough to hold their shape but need room to breathe.
- Bake until golden:
- Slide them into the oven for 8 to 10 minutes. You want edges that are just barely turning color while centers look slightly underbaked.
- Let them cool:
- Leave the cookies on the baking sheet for 5 minutes. They firm up as they cool and moving them too early makes the heads fall off.
- Make the glaze:
- Whisk powdered sugar and milk until smooth. Brush it over the cooled cookies for a professional shine.
- Add the faces:
- Dot on black eyes and draw tiny orange triangles for beaks. Let everything set for 15 minutes before stacking.
 Save
Save My mom called me while I was decorating the first batch and I put the phone down to find my daughter had drawn angry eyebrows on every single chick. We laughed so hard we had to sit on the floor. Those grumpy little chickens ended up being the ones everyone fought over at dinner.
Getting The Shape Right
The ratio between body and head matters more than you would think. If the head is too big the chicks look like bobbleheads but too small and they disappear entirely. I keep a small plate of extra dough nearby in case I need to adjust proportions while I work.
Making Them Ahead
The dough actually benefits from an overnight rest in the refrigerator. Wrap it tightly and let the flour hydrate completely. You will notice the cookies bake up more evenly and hold their yellow shape better than fresh dough.
Decorating With Kids
Set up a decorating station with small bowls of the different face components. Little hands can place chocolate chip eyes while you handle the precision work of the beaks. The imperfect ones always have the most personality anyway.
- Have wet wipes ready before you start because food coloring stains everything it touches
- Let each child create their own unique chick expressions for a truly memorable platter
- The glaze step is entirely optional if you want to skip it and keep things simpler
 Save
Save Something magical happens when you set a platter of these on a spring table. Even the most serious adults cannot help but smile back at a cookie with a tiny orange beak.
Common Questions
- → Can I make the dough ahead of time?
-
Yes, you can refrigerate the dough for up to 2 days before baking. Wrap tightly in plastic and let it soften slightly at room temperature before shaping.
- → What if I don't have food coloring?
-
You can skip the coloring for plain cookies, or use natural alternatives like turmeric or saffron for a subtle yellow hue. The taste remains delicious either way.
- → How should I store these cookies?
-
Store in an airtight container at room temperature for up to 5 days. Place parchment paper between layers to prevent the decorations from smudging.
- → Can I freeze the dough or baked cookies?
-
Both freeze well! Freeze shaped, uncooked dough balls on a tray then transfer to a bag for up to 3 months. Bake frozen cookies adding 1-2 minutes. Baked cookies freeze for up to 2 months.
- → What's the best way to get the two-ball shape?
-
Roll one 1-inch ball for the body and a 3/4-inch ball for the head. Gently press them together on the baking sheet—the heat will help them merge during baking.
- → Can I use royal icing instead of the glaze?
-
Absolutely! Royal icing creates a smoother, harder finish. Pipe it on after the cookies cool completely and let it dry thoroughly before adding the facial details.