 Save
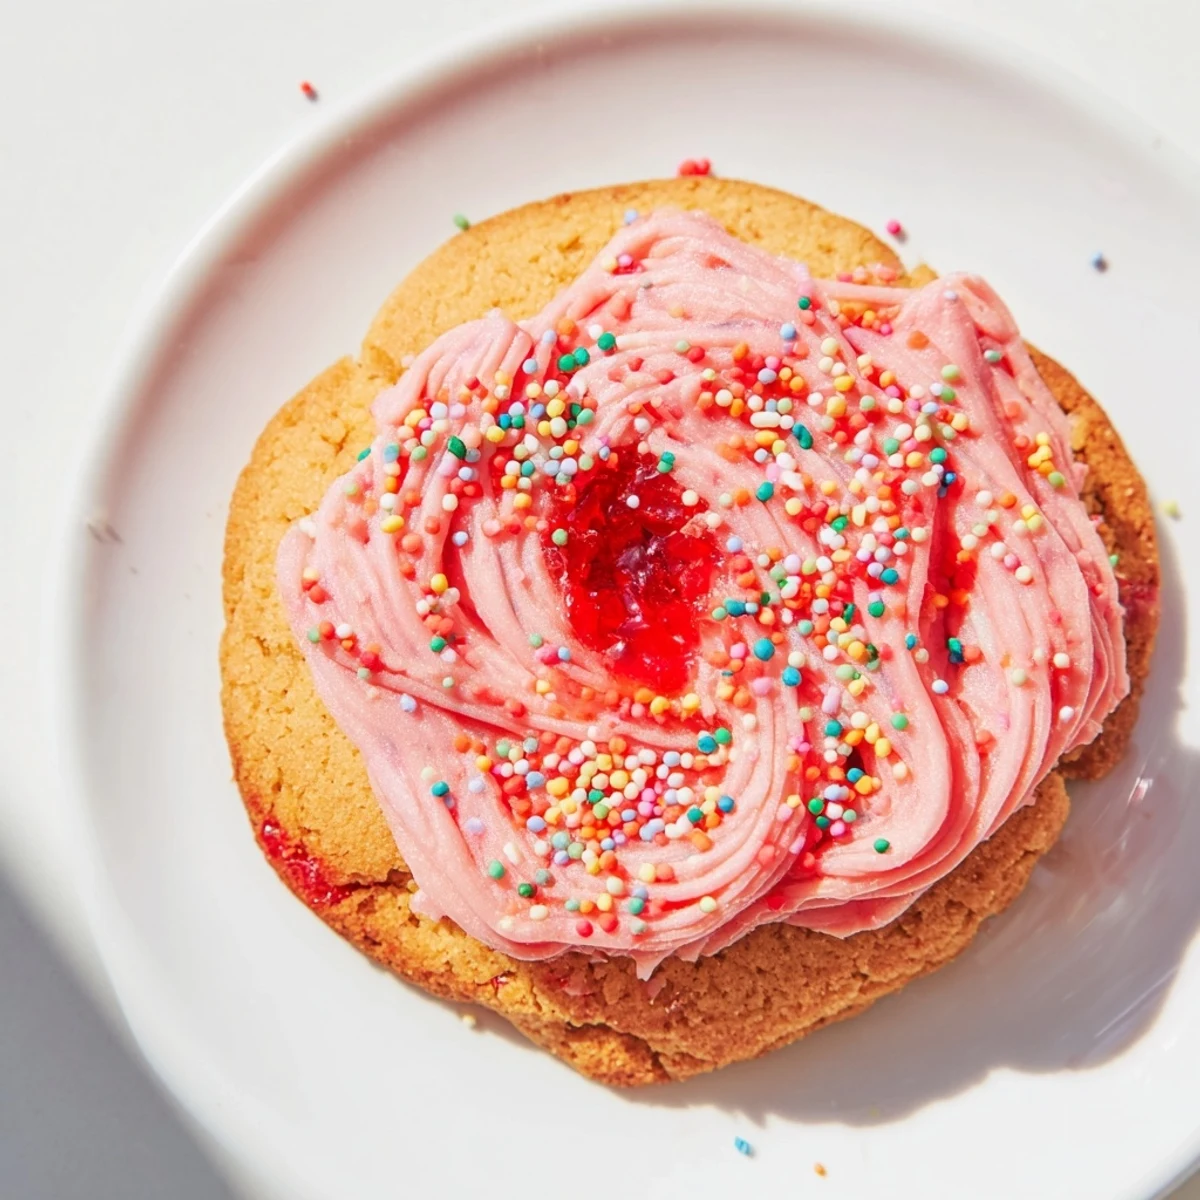
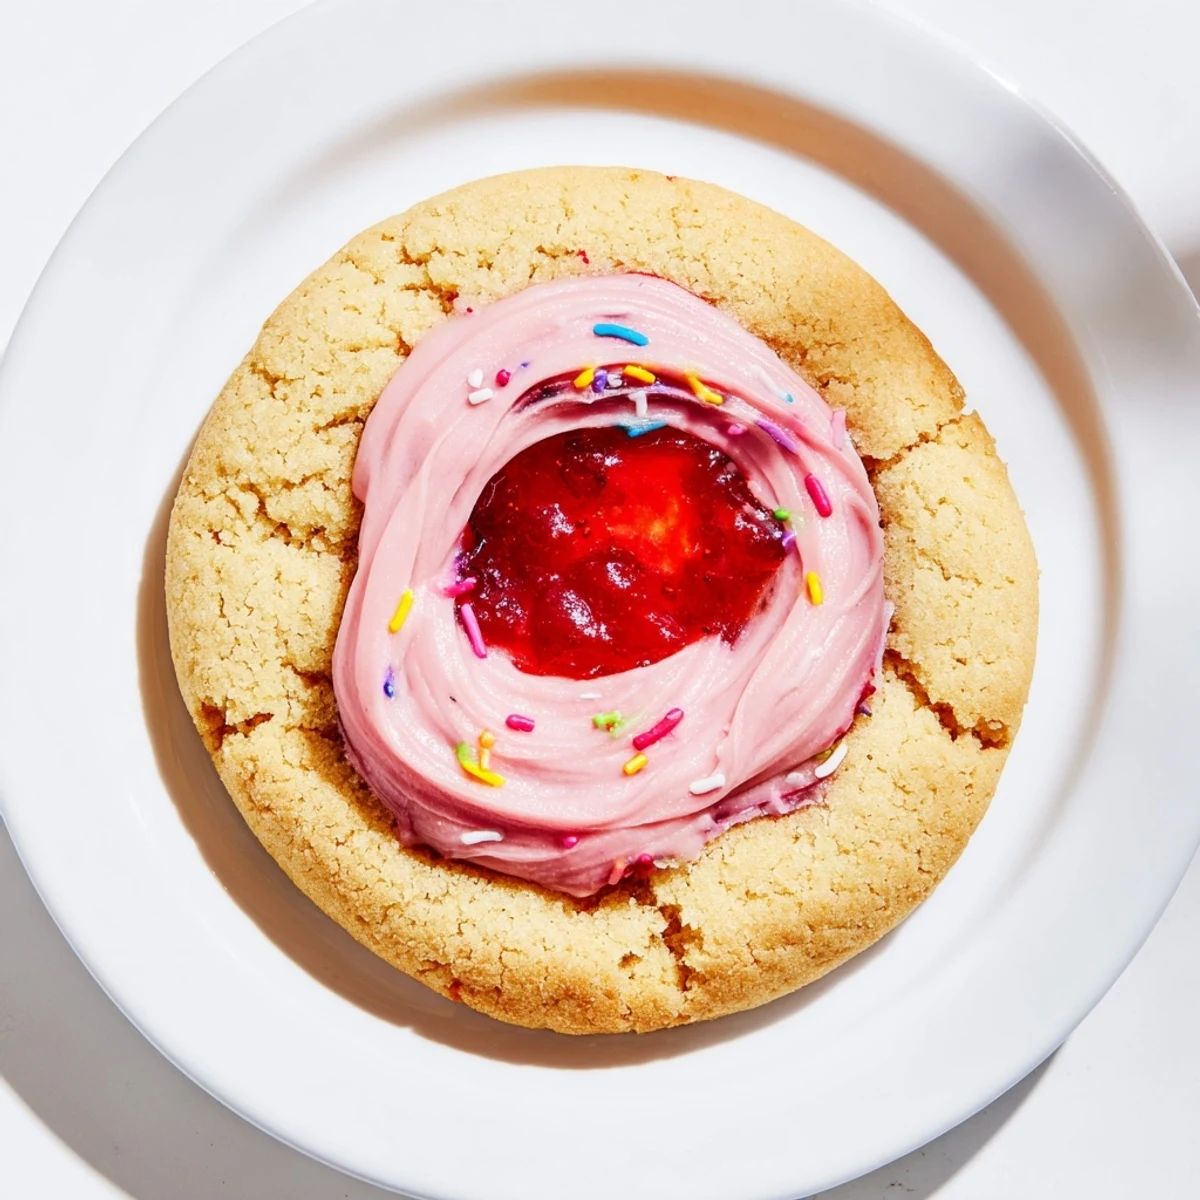
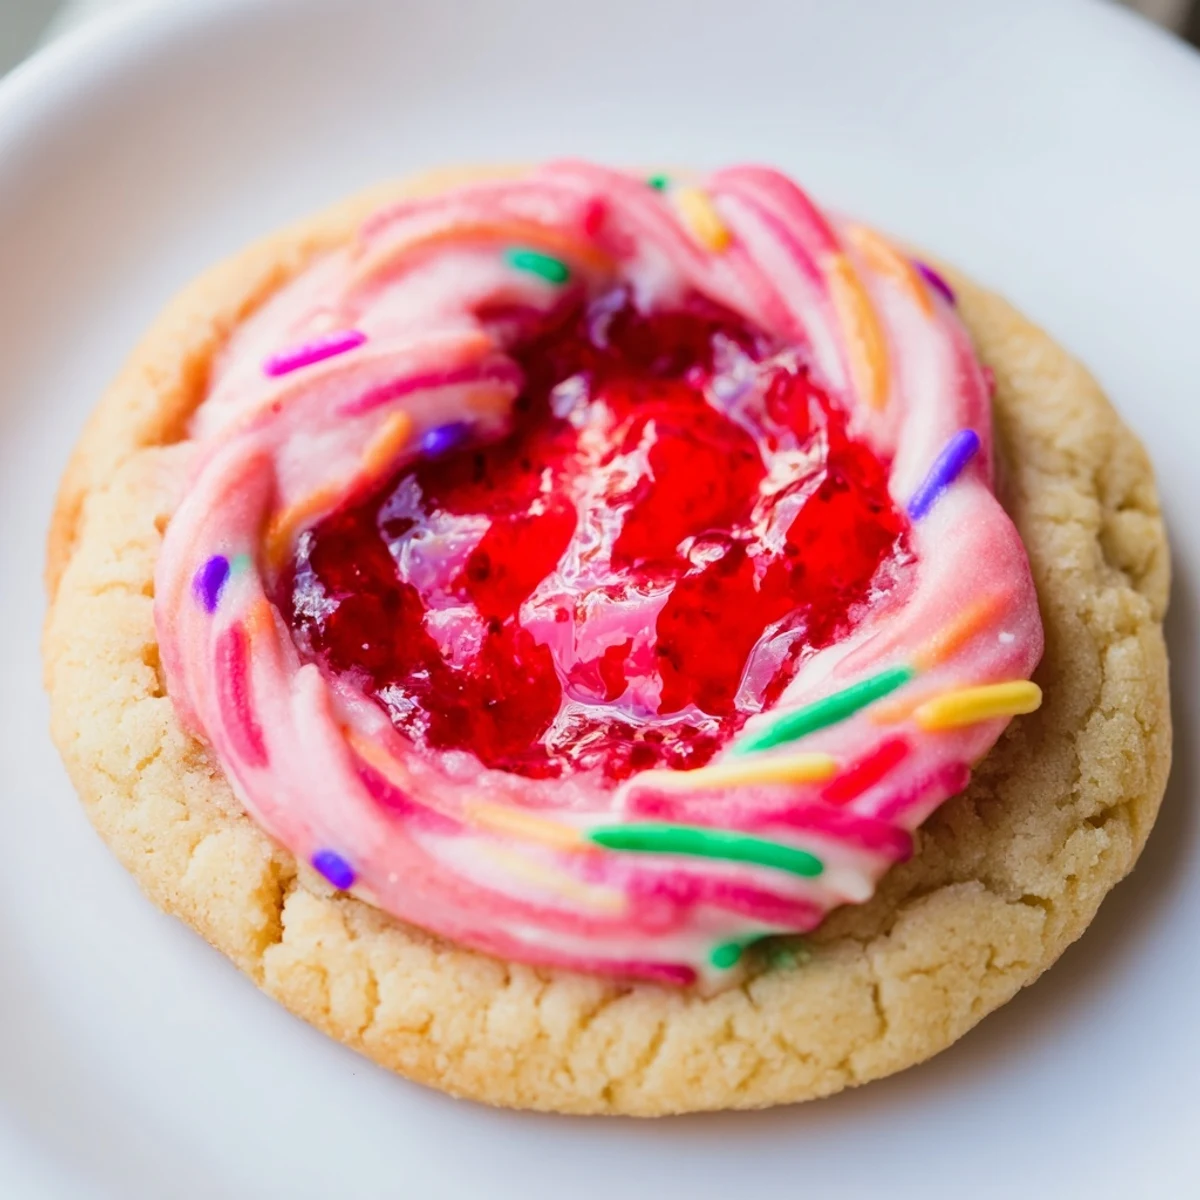
Save These soft, buttery cookies capture all the nostalgic flavors of strawberry Pop-Tarts in a homemade treat. Each cookie features a tender vanilla dough wrapped around sweet strawberry jam, then finished with a drizzle of colorful vanilla glaze and playful sprinkles.
The dough comes together quickly with basic pantry ingredients, and the jam-filled centers create that perfect fruit-filled pastry experience. Bake them until edges are set but centers remain slightly soft for the ideal texture.
Top with pink or red glaze and sprinkles while still warm for that classic Pop-Tart look. These keep well for days and are perfect for lunchboxes, dessert tables, or whenever you want a fun, nostalgic sweet treat.
The smell of toaster pastries wafting through a Saturday morning kitchen is practically a childhood universal, and these cookies capture that exact feeling in a way that surprised even me. I stumbled onto the idea during a late night pantry raid, staring at a jar of strawberry jam and a bag of sprinkles my daughter had left on the counter after a cupcake project. Thirty minutes later I had something that tasted like nostalgia baked into a cookie.
I brought a batch to a neighborhood potluck last spring and watched a grown man eat five of them while pretending to feed one to his dog. My friend Elena now texts me every Friday asking if the strawberry cookies are happening again this weekend.
Ingredients
- All-purpose flour (2 1/4 cups, 280 g): The backbone of the dough, and sifting it once makes the cookies noticeably softer.
- Baking powder (1/2 teaspoon): Just enough lift to keep these tender without puffing them into cake territory.
- Salt (1/2 teaspoon): Do not skip this, because salt is what makes the sweetness taste intentional instead of one note.
- Unsalted butter, softened (3/4 cup, 170 g): Room temperature butter creams properly and that is what gives you those delicate edges.
- Granulated sugar (3/4 cup, 150 g): Works with the brown sugar for a balanced sweetness that does not overpower the jam.
- Light brown sugar (1/4 cup, 50 g): A small amount adds chewiness and a hint of caramel warmth.
- Large eggs (2): Bind everything together and add richness to the crumb.
- Vanilla extract (2 teaspoons): Use the real stuff if you have it, because artificial vanilla flat out ruins the retro flavor you are going for.
- Strawberry jam or preserves (3/4 cup, 210 g): Preserves with real fruit pieces give the best texture, and a thicker jam will not leak as much during baking.
- Powdered sugar (1 cup, 120 g): The base for that iconic Pop Tart style glaze.
- Milk (2 tablespoons): Thins the glaze to the perfect drizzling consistency.
- Vanilla extract (1/2 teaspoon, for glaze): A second dose in the glaze ties the whole flavor together.
- Pink or red food coloring (optional): Totally optional, but a single drop turns the glaze into something that looks like it came from a bakery case.
- Sprinkles, for topping: Rainbow sprinkles are classic, but use whatever makes you smile.
Instructions
- Get your oven ready:
- Preheat to 350 degrees F (175 degrees C) and line two baking sheets with parchment paper. This is the one step you should not rush, because an evenly heated oven means no burnt bottoms.
- Whisk the dry stuff:
- In a medium bowl, whisk together the flour, baking powder, and salt until evenly combined. You will see little specks of salt disappear into the flour, and that even distribution matters.
- Cream butter and sugars:
- In a large bowl, beat the softened butter, granulated sugar, and brown sugar with an electric mixer for two to three minutes until the mixture turns pale and looks light and cloudlike.
- Add eggs and vanilla:
- Beat in the eggs one at a time, letting each fully incorporate before adding the next, then pour in the vanilla and mix until fragrant.
- Bring the dough together:
- Gradually add the dry ingredients to the wet mixture on low speed, stopping the moment everything is just combined. Overmixing is the enemy of soft cookies.
- Stuff with jam:
- Scoop two tablespoon portions of dough and flatten each into a disc in your palm. Place one teaspoon of strawberry jam in the center, fold the dough over, pinch the edges tightly to seal, and gently roll into a ball.
- Arrange and bake:
- Place the filled dough balls on your prepared sheets two inches apart. Bake for eleven to thirteen minutes until the edges look set but the centers still look slightly underbaked and soft.
- Cool properly:
- Let the cookies rest on the baking sheet for five minutes so they firm up gently, then transfer to a wire rack to cool completely before even thinking about glaze.
- Glaze and decorate:
- Whisk the powdered sugar, milk, vanilla, and food coloring if using until perfectly smooth. Drizzle generously over cooled cookies and shower with sprinkles right away before the glaze sets.
 Save
Save The moment my daughter walked into the kitchen, saw the sprinkled tray, and gasped like it was Christmas morning was worth every speck of glitter on my countertop.
Jam Swaps Worth Trying
Raspberry jam makes these taste like a fancy pastry shop item, and apricot preserves give them a marmalade brightness that feels grown up. Blueberry jam creates a purple burst that looks dramatic when you break a cookie open, and I once used fig butter which sounded weird but tasted incredible.
Storage That Keeps Them Right
An airtight container at room temperature keeps these good for up to four days, though in my house they rarely survive past day two. If you stack them, put a piece of parchment between layers so the glaze does not smear onto the cookie below.
Tools That Make It Easier
A cookie scoop keeps your portions even, which matters more than you think when you are trying to get twenty uniform cookies from one batch. A wire rack is nonnegotiable for cooling because air circulation prevents soggy bottoms.
- Keep a small bowl of water nearby to dampen your fingers if the dough sticks while sealing.
- Parchment paper is better than a silicone mat here because it absorbs just enough moisture from the bottoms.
- Set a timer for eleven minutes and check early, because every oven has its own personality.
 Save
Save These cookies are pure joy rolled in sprinkles, and sharing them with someone who grew up eating Pop-Tarts is guaranteed to make them grin. Bake a batch this weekend and watch them disappear.
Common Questions
- → Can I use different jam flavors?
-
Absolutely! Raspberry, blueberry, apricot, or even mixed berry jam work wonderfully. Feel free to experiment with your favorite preserves for different flavor variations.
- → Why do the centers look slightly underbaked?
-
This is intentional! The centers should appear slightly underbaked when you remove them from the oven. They continue cooking on the hot baking sheet during the 5-minute cooling time, ensuring perfectly soft, tender cookies.
- → How should I store these cookies?
-
Store in an airtight container at room temperature for up to 4 days. Separate layers with parchment paper to prevent sticking. The glaze may soften slightly over time but remains delicious.
- → Can I freeze the dough or baked cookies?
-
Yes! You can freeze filled, unbaked dough balls for up to 3 months. Bake from frozen, adding 1-2 minutes to baking time. Baked cookies also freeze well for up to 2 months; glaze after thawing.
- → Do I need food coloring for the glaze?
-
No, it's completely optional. The glaze looks lovely plain white, or you can use natural food coloring, beet juice, or even a small amount of strawberry jam to achieve a pink hue without artificial coloring.
- → Why did my jam leak out during baking?
-
This can happen if the dough isn't sealed properly or if overfilled. Use only 1 teaspoon of jam per cookie and ensure the dough completely covers the filling, pinching edges firmly together. Chilling dough balls for 15 minutes before baking also helps prevent leaks.