 Save
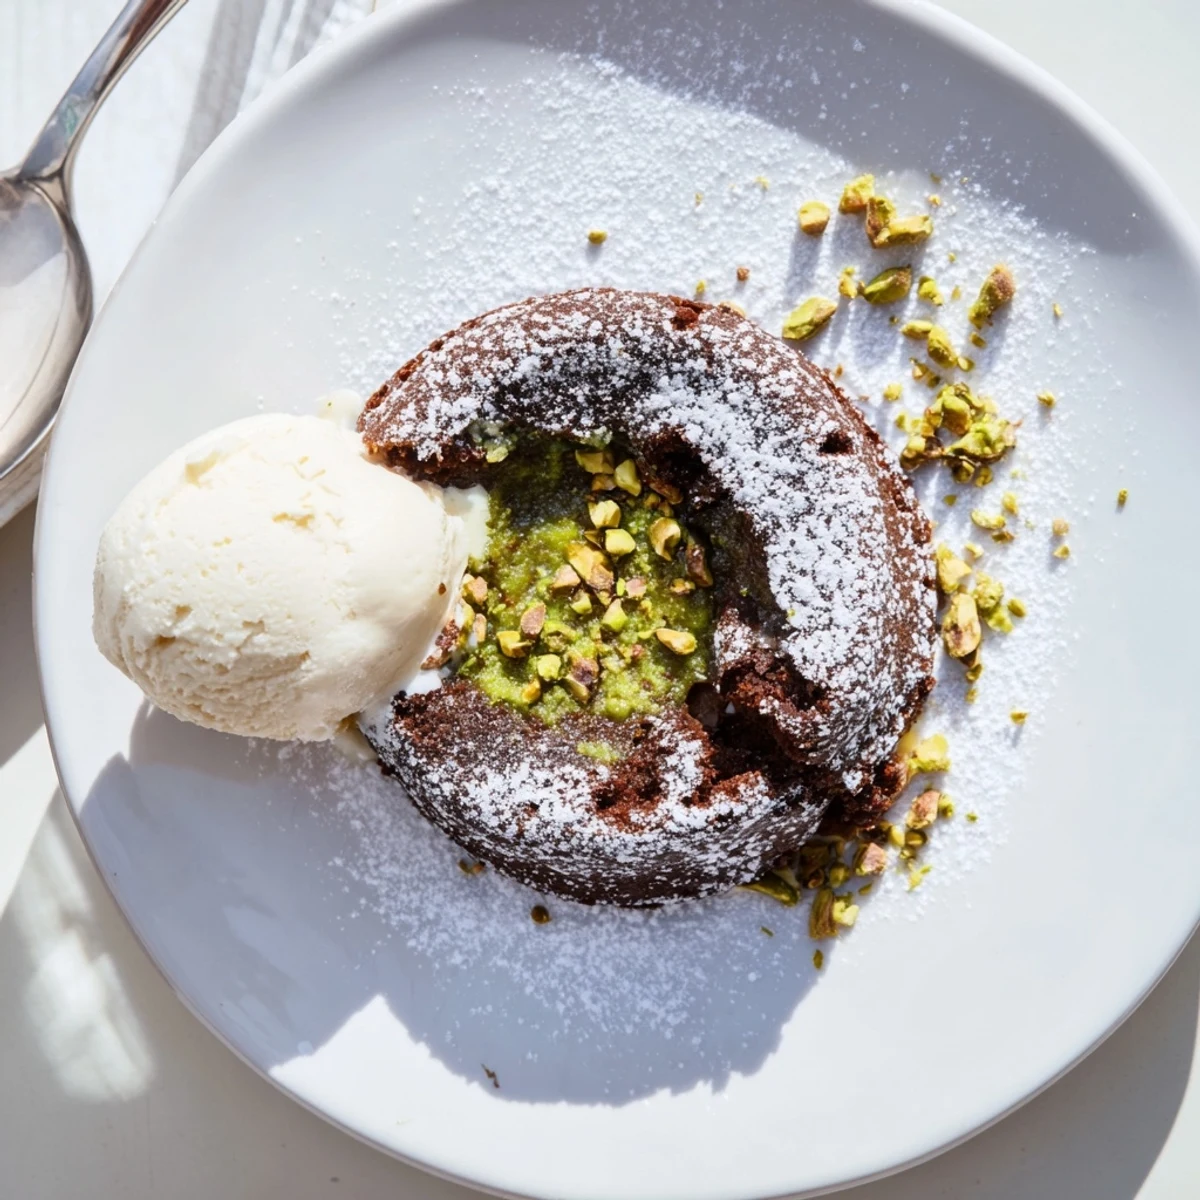
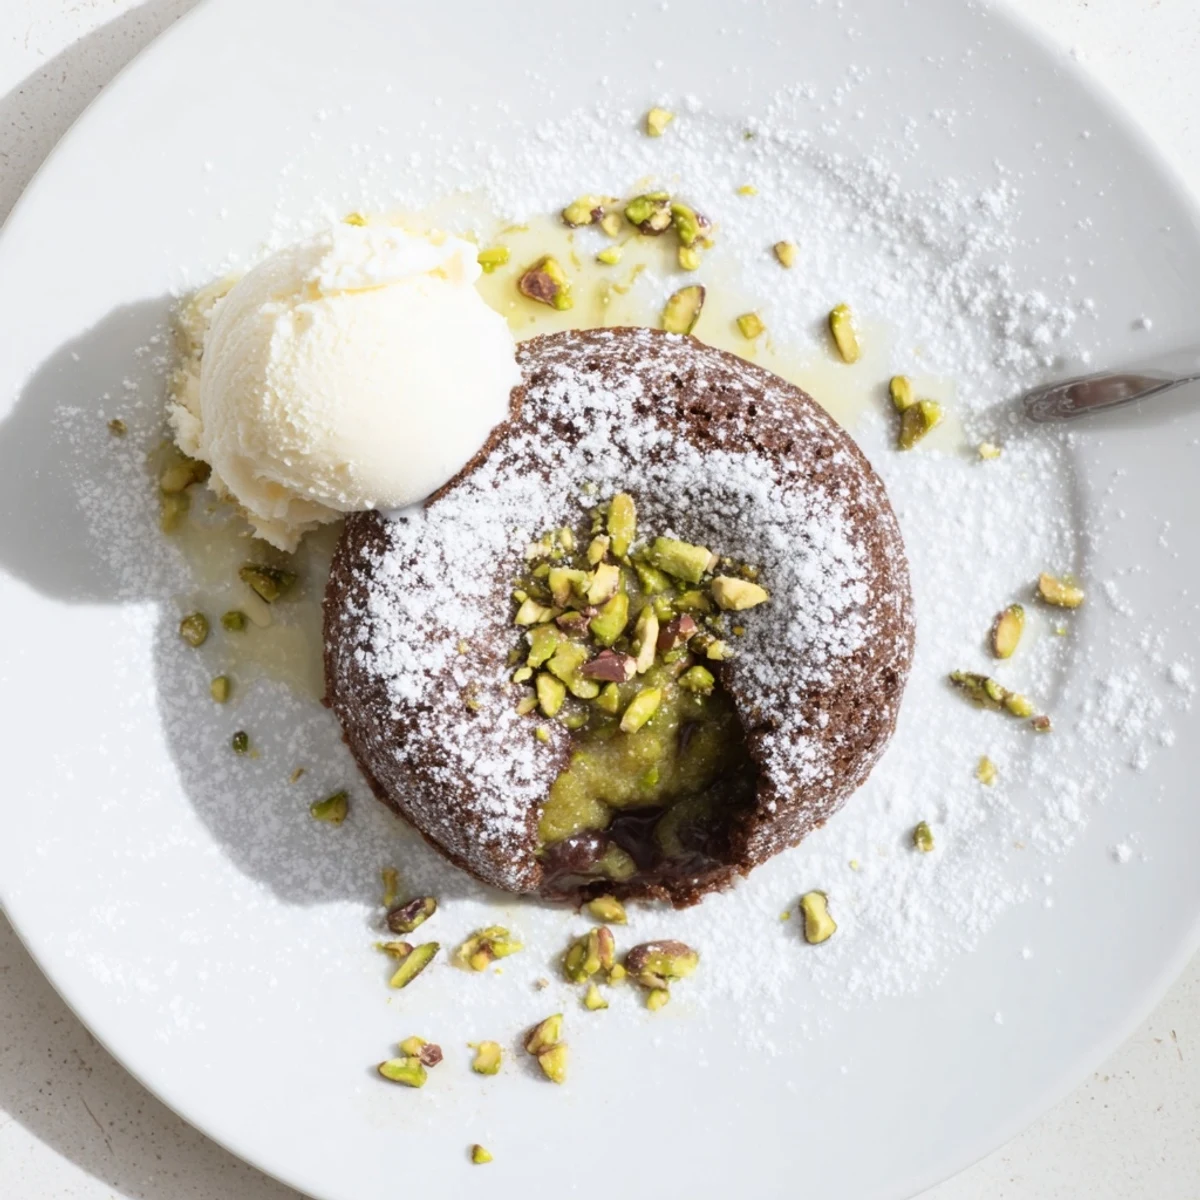
Save These indulgent individual desserts combine bittersweet chocolate with a luscious pistachio paste center, creating a stunning molten effect when baked. The contrast between the warm, gooey chocolate and the vibrant nutty filling makes these cakes perfect for dinner parties or special occasions. With just 20 minutes of prep and 12 minutes of baking, you can serve restaurant-quality desserts that will impress your guests.
The sound of a fork cracking through a chocolate shell and hitting molten center never gets old, but the first time I swirled pistachio paste into that molten core was a genuine kitchen revelation. The green peeking through dark chocolate looked almost painterly, like something a pastry chef in Paris would charge twenty euros for. My sister walked in, fork already in hand, and declared it the best thing to come out of my oven that year. She was not wrong.
I served these at a small dinner party last winter when the weather outside was merciless and people needed something deeply comforting. The moment each guest broke into their cake and watched the green pistachio core mingle with flowing chocolate, the conversation stopped entirely. That silence, broken only by satisfied groans, is the highest compliment a cook can receive.
Ingredients
- Shelled unsalted pistachios (1/4 cup, 60 g): The star of the hidden center, so buy the freshest you can find because stale pistachios taste flat and waxy.
- Heavy cream (2 tbsp, 30 ml): Just enough to transform ground pistachios into a luscious, spoonable paste.
- Bittersweet chocolate (100 g, 60-70% cocoa): Do not go below 60% or the cakes will be cloying, and chop it yourself rather than using chips which contain stabilizers.
- Unsalted butter (100 g, 7 tbsp): Plus extra for greasing the ramekins generously so nothing sticks during the dramatic flip.
- Large eggs (2 whole, plus 2 yolks): The extra yolks create richness that makes the batter silky and the centers gooey.
- Granulated sugar (1/3 cup, 65 g): Not too sweet, just enough to balance the bitterness of the chocolate.
- All-purpose flour (2 tbsp, 15 g): Barely any, just a structural whisper to hold everything together.
- Salt (1/4 tsp): Never skip this, it makes the chocolate taste like itself.
Instructions
- Prepare your ramekins:
- Heat the oven to 220°C (425°F) and coat four ramekins with butter, then dust with flour and tap out the excess so the cakes release cleanly later.
- Make the pistachio paste:
- Blitz the pistachios in a food processor until finely ground, then pour in the cream and keep blending until you have a thick, smooth paste that holds its shape on a spoon.
- Melt chocolate and butter:
- Set a heatproof bowl over simmering water and stir the chocolate and butter together until they become one glossy, dark pool, then pull it off the heat to cool slightly.
- Whisk the eggs and sugar:
- Beat the whole eggs, yolks, and sugar in a separate bowl until the mixture turns pale and falls in thick ribbons from the whisk.
- Bring the batter together:
- Pour the melted chocolate into the egg mixture with gentle whisking, then sift in the flour and salt, folding until everything is just combined with no dry streaks.
- Layer and hide the center:
- Spoon half the batter into the ramekins, dollop a heaped teaspoon of pistachio paste into the middle of each, then cover with the remaining batter and smooth the tops.
- Bake with confidence:
- Slide them into the oven for 11 to 13 minutes, watching for set edges and tops that still have a slight wobble in the very center.
- The flip and serve:
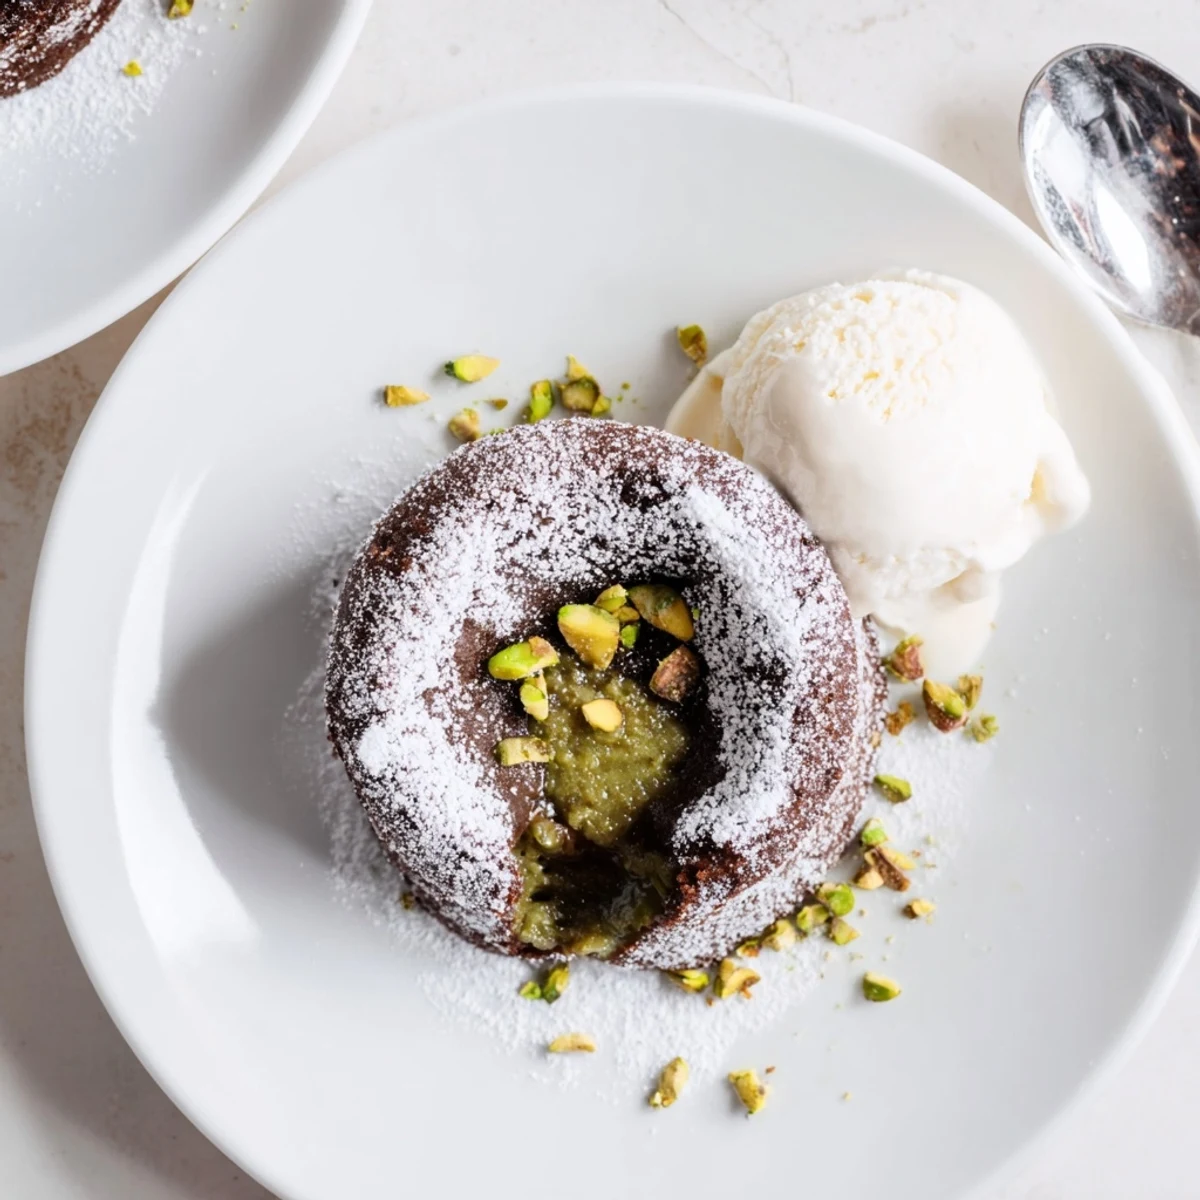
- Run a knife around each edge the moment they come out, wait one minute, then invert onto plates and finish with chopped pistachios, a dusting of powdered sugar, and ice cream if you have it.
 Save
Save There was a rainy Tuesday when I made these just for myself, no occasion, no guests, purely because the week had been long and I wanted something beautiful that required my full attention. Cracking through that shell alone at the kitchen counter, still in my apron, reminded me that cooking for yourself is worth doing properly.
Timing Is Everything
These cakes wait for no one, so have your plates ready, your toppings gathered, and your guests seated before you pull them from the oven. The molten center begins setting the moment it hits room temperature, and that magical flow you worked for disappears fast. I learned this the hard way when I got distracted plating and came back to perfectly good but firmly set cakes.
Swaps and Substitutions
Almond meal works beautifully in place of pistachios if that is what your pantry offers, though the color will be more subtle and the flavor gentler. Hazelnut paste is another gorgeous direction that leans toward gianduja territory. Whatever nut you choose, toast it lightly before blending to deepen the flavor.
Getting Ahead
You can prepare the batter and pistachio paste separately up to a day in advance and store them in the fridge, then assemble and bake when you are ready. This split preparation makes these surprisingly practical for entertaining. Just remember a few things before you start.
- Bring the chilled batter to room temperature before baking or the timing will be off.
- Grease those ramekins with extra care because cold batter sticks more stubbornly.
- Always do a test cake first if you are serving these to guests.
 Save
Save Some desserts are about showmanship and some are about comfort, and these little cakes manage to be both without pretense. Make them once and they will become the dish everyone asks for by name.
Common Questions
- → How do I know when the lava cakes are done baking?
-
The cakes are ready when the tops are set but the centers still feel soft and jiggly when gently tapped. This usually takes 11-13 minutes at 220°C. Avoid overbaking to maintain the molten center.
- → Can I prepare these lava cakes ahead of time?
-
Yes! You can assemble the batter in ramekins up to 24 hours in advance and refrigerate. When ready to serve, bake for an extra 1-2 minutes. The pistachio paste can also be made 2-3 days ahead and stored in an airtight container.
- → What can I use instead of pistachios?
-
Almond paste or hazelnut spread work beautifully as alternatives. You can also skip the nut filling entirely for pure chocolate lava cakes, or add a teaspoon of raspberry preserves for a fruity twist.
- → Why did my cakes lose their molten center?
-
Overbaking is the most common cause. Oven temperatures vary, so start checking at 11 minutes. The centers should still wobble slightly when removed from the oven—they continue cooking while resting.
- → How do I prevent the cakes from sticking to the ramekins?
-
Generously butter each ramekin, then dust with flour, tapping out any excess. For extra insurance, cut parchment paper circles to line the bottoms. Running a knife around the edges immediately after baking helps release them cleanly.
- → Can I freeze these lava cakes?
-
Absolutely! Assemble unbaked cakes in ramekins, wrap tightly with plastic and foil, and freeze for up to 3 months. Bake from frozen, adding 3-4 extra minutes to the baking time.