 Save
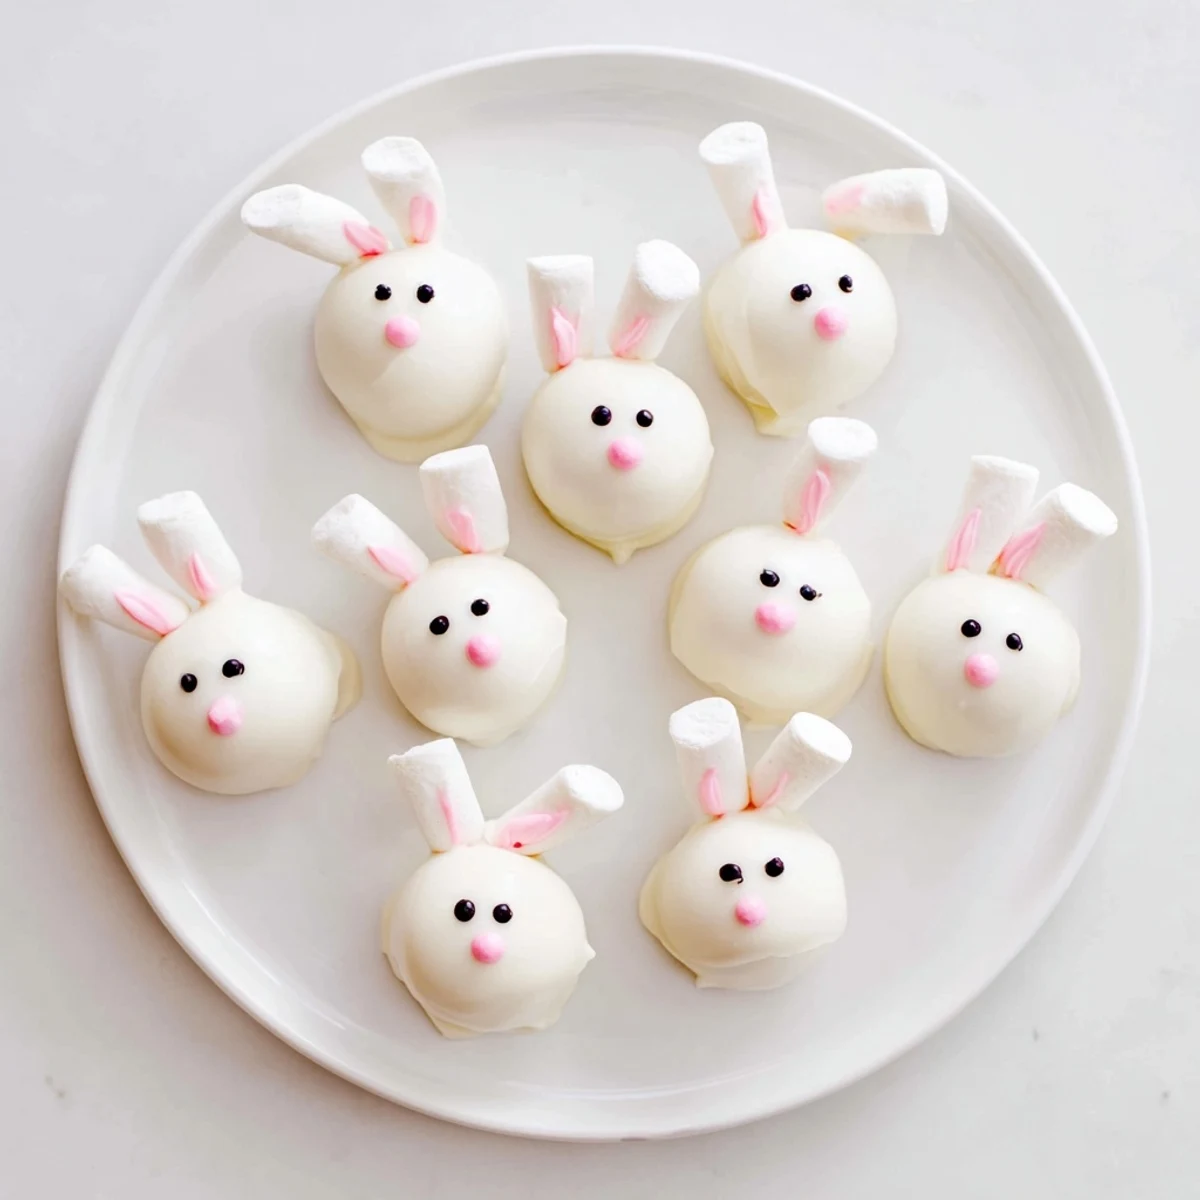
Save These delightful bunny-shaped treats combine crushed Oreo cookies with creamy cheese, dipped in smooth white chocolate and decorated with marshmallow ears and tails. Perfect for spring gatherings, these no-bake conceptions come together in just 30 minutes of active preparation time.
The process involves pulsing cookies into fine crumbs, blending with softened cheese until a dough forms, then shaping into oval bunny heads. After chilling, each piece gets coated in melted white chocolate and decorated with marshmallow features, pink candy details, and charming dotted eyes.
Store these adorable creations in the refrigerator for up to 5 days, making them excellent for preparing ahead of celebrations. The combination of crunchy cookie texture, smooth chocolate coating, and playful marshmallow decorations makes them especially appealing for both children and adults.
The year my daughter turned six, she decided our household needed an Easter tradition that involved zero actual baking but maximum cuteness. We spent a giggly Sunday afternoon turning Oreo truffles into the tiniest bunny heads, our kitchen island covered in sprinkles and chocolate fingerprints. Now its not really spring until Ive made at least one batch of these chocolate-coated little guys.
Last spring I brought these to a neighborhood potluck and watched three grown women coo over miniature bunny tails before even touching the main dishes. Something about food with tiny faces just makes people happy, and they vanish faster than youd expect anything Oreo-based to disappear.
Ingredients
- 36 Oreo cookies: Regular Oreos work best here, not Double Stuf, since you need that cookie-to-cream ratio for the dough to hold together properly
- 225 g cream cheese: Softened to room temperature so it blends smoothly into the crumbs without leaving chunks
- 400 g white chocolate: White candy melts actually coat more evenly than real white chocolate, though either works
- Pink candy melts: For the adorable nose and inner ear details that bring these bunnies to life
- Mini marshmallows: Cut into halves and slivers to create fluffy tails and perky ears
- Edible black marker: The secret to giving each bunny its own personality
Instructions
- Make the Oreo dough:
- Pulse those Oreos in a food processor until youve got fine, even crumbs, then add softened cream cheese and blend until everything comes together into a smooth, pliable dough.
- Shape your bunnies:
- Scoop tablespoon portions and roll into balls, then gently coax each one into a slightly oval shape before freezing them for 30 minutes so they hold their form during dipping.
- Prep the marshmallow parts:
- Cut mini marshmallows in half for tails and into thinner slivers for ears while the Oreo balls chill, setting everything aside on a plate.
- Coat with chocolate:
- Melt white chocolate in 30 second bursts, stirring between each, then dip each chilled ball completely, letting excess drip off before returning to parchment.
- Add bunny features:
- While coating is still wet, press two marshmallow slivers on top for ears and a half-marshmallow on the back for the fluffy tail.
- Give them faces:
- Once chocolate has set for about 10 minutes, use a toothpick dipped in pink candy melts to add noses and fill the ears, then dot on eyes with black marker.
 Save
Save My friend Sarah accidentally made a whole batch of cyclops bunnies her first time, and honestly, they were charming in their own way. Now we just call them quirky and move on with our lives.
Making These Ahead
You can form the Oreo balls and freeze them for up to a week before dipping, which makes these surprisingly practical for party planning. Just thaw them slightly before coating so the chocolate doesnt crack from the temperature difference.
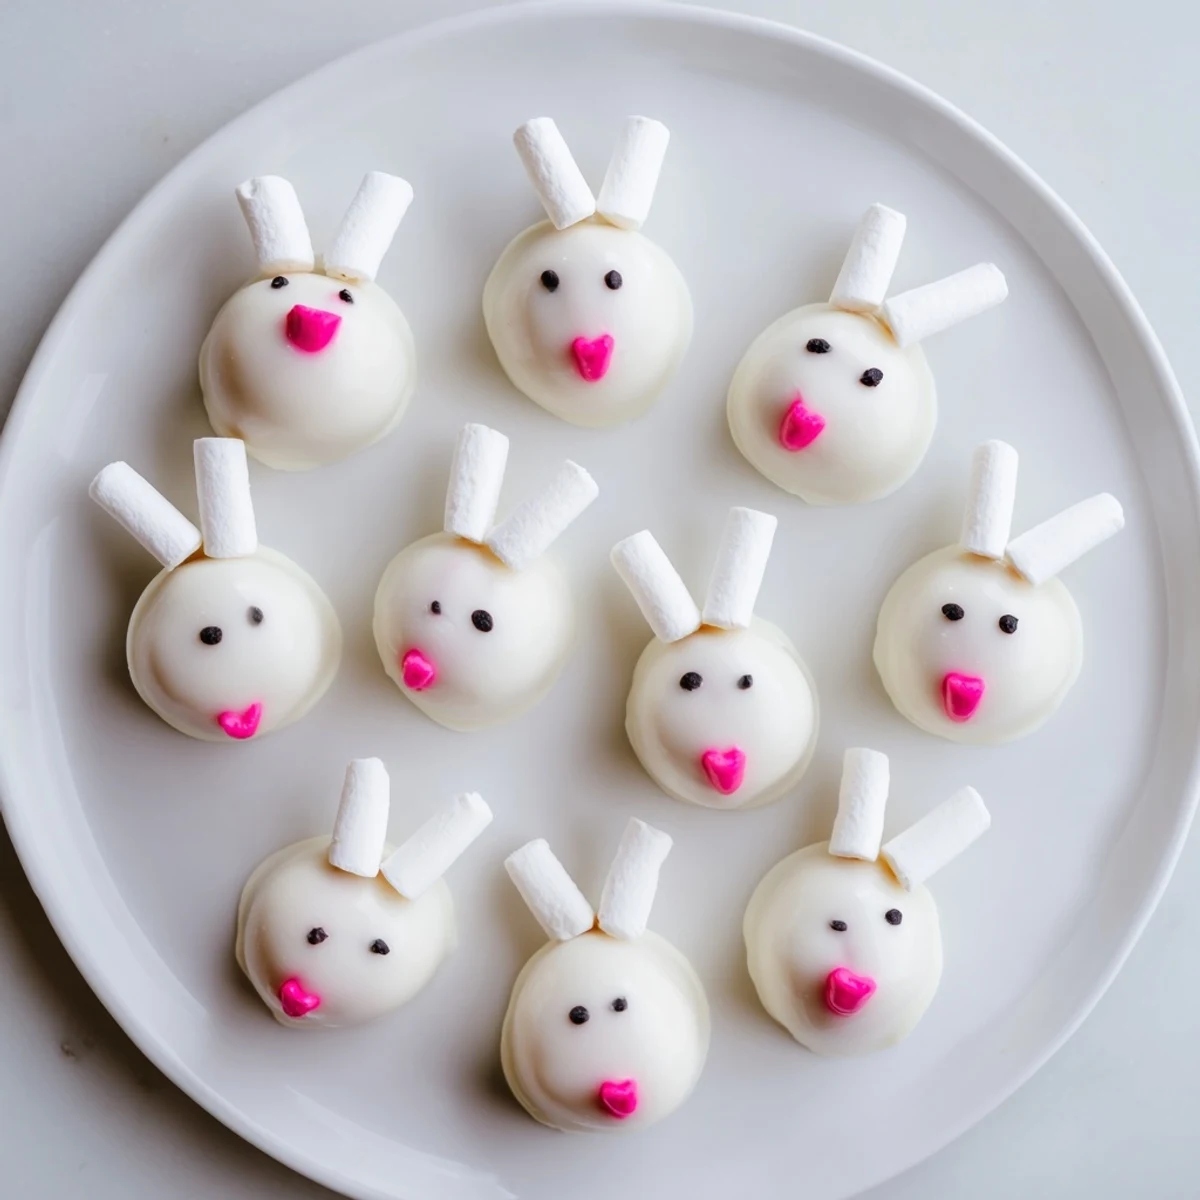
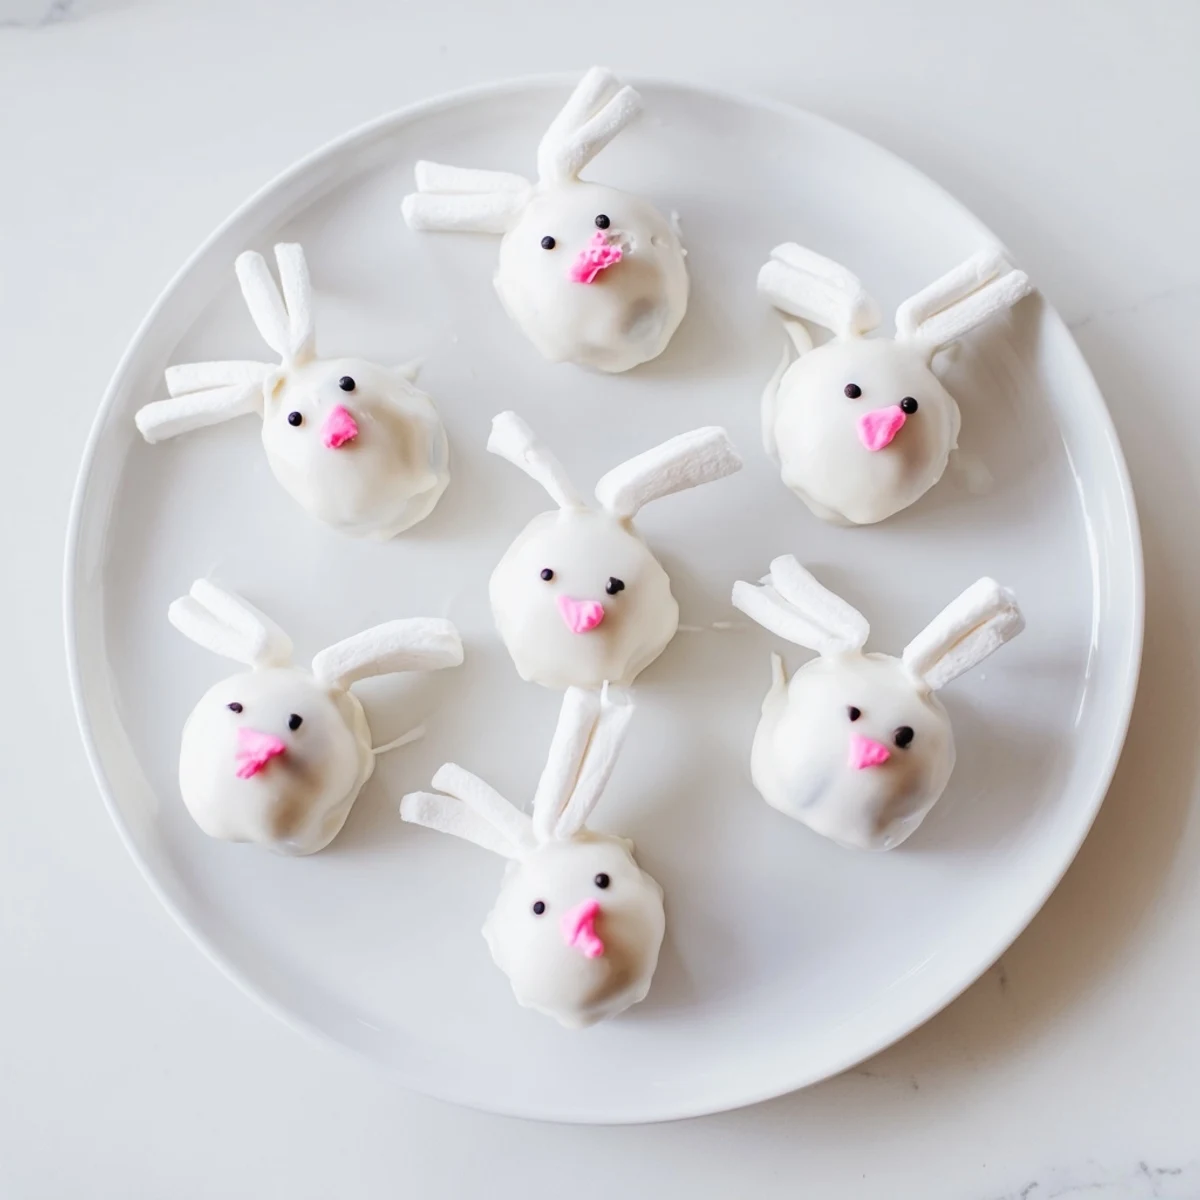
Decoration Variations
Sometimes I skip the marshmallow ears entirely and use pink sprinkles or shaped fondant pieces instead. Dark or milk chocolate coating transforms them from spring bunnies into year-round truffles that are just as delicious.
Serving Suggestions
These look adorable arranged in a cupcake liner on a festive plate or tucked into Easter baskets as an edible surprise. Theyre rich enough that one per person satisfies, but nobody ever stops at just one.
- Pair them with fresh berries to cut through the sweetness
- Serve them chilled straight from the refrigerator
- Package them in clear treat bags tied with pastel ribbon for gifting
 Save
Save Theres something about seeing a plate of these tiny bunny faces that just makes people smile before they even take a bite. Hope they bring a little joy to your kitchen too.
Common Questions
- → How long do bunny Oreo balls keep fresh?
-
Store these bunny-shaped treats in an airtight container in the refrigerator for up to 5 days. The chilled texture helps maintain the firm coating and prevents the marshmallow decorations from becoming sticky or losing their shape.
- → Can I freeze these chocolate-coated treats?
-
Yes, freeze the undecorated balls for up to 2 months. Place them on a baking sheet until frozen solid, then transfer to a freezer-safe container. Thaw in the refrigerator overnight before adding the marshmallow decorations and chocolate coating.
- → What other coatings work well besides white chocolate?
-
Milk or dark chocolate creates a delicious alternative coating that pairs beautifully with the cookie filling. Candy melts in various pastel colors like light blue, lavender, or yellow also work wonderfully for spring-themed variations without altering the overall preparation method.
- → Why do my Oreo balls crack when dipping?
-
Cracking typically occurs when the balls are too cold or the chocolate coating is too thick. Let the chilled balls sit at room temperature for 5 minutes before dipping, and ensure your melted chocolate is smooth and slightly warm but not hot. Working in small batches helps maintain ideal dipping conditions.
- → Can I make these without a food processor?
-
Place cookies in a sturdy zip-top bag and crush with a rolling pin or heavy mason jar until fine crumbs form. Mix with softened cheese by hand in a bowl, pressing firmly until completely combined. The texture remains consistent, though mixing requires slightly more effort and time.
- → What's the best way to attach marshmallow decorations?
-
Work quickly while the chocolate coating is still wet and slightly tacky—this helps marshmallows adhere without needing additional adhesive. For decorations added after the coating sets, use a tiny amount of melted chocolate as 'glue' by dabbing it on with a toothpick before positioning each piece.