 Save
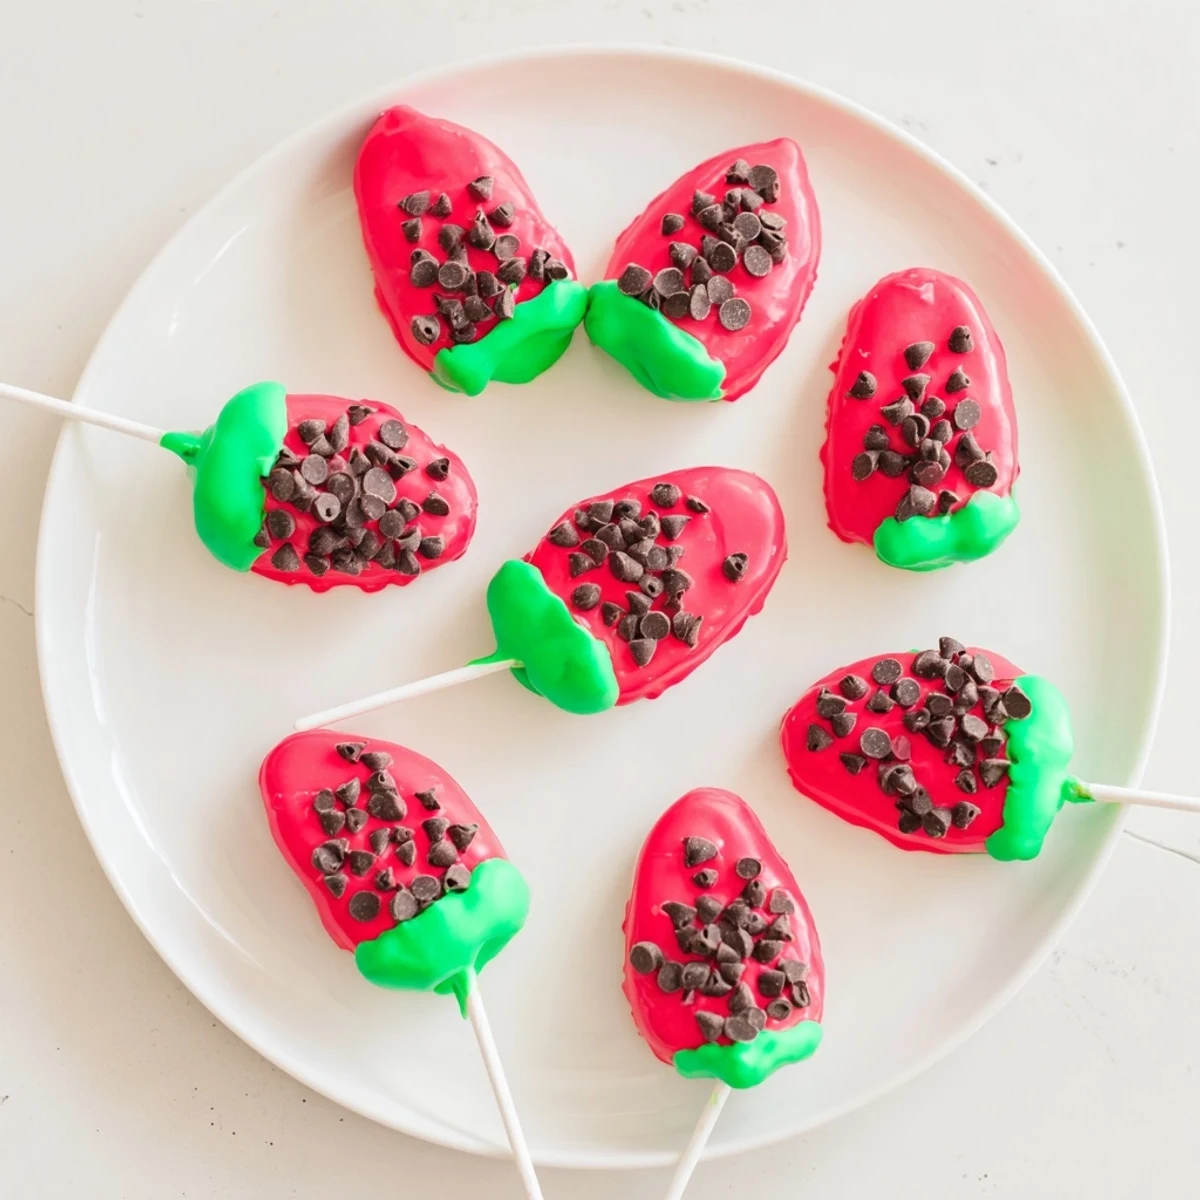
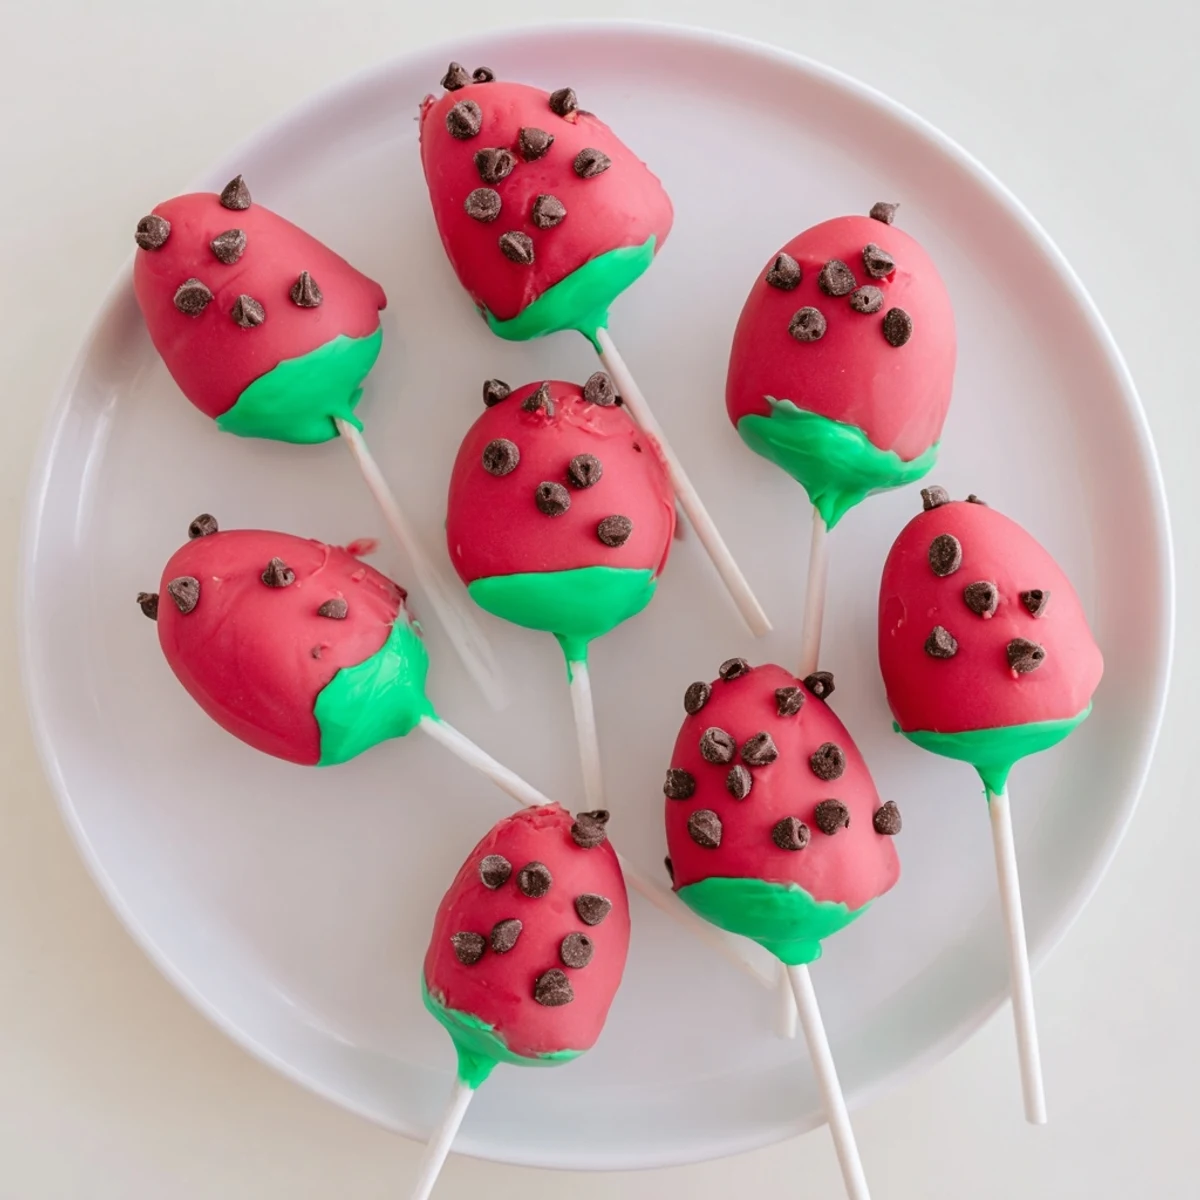
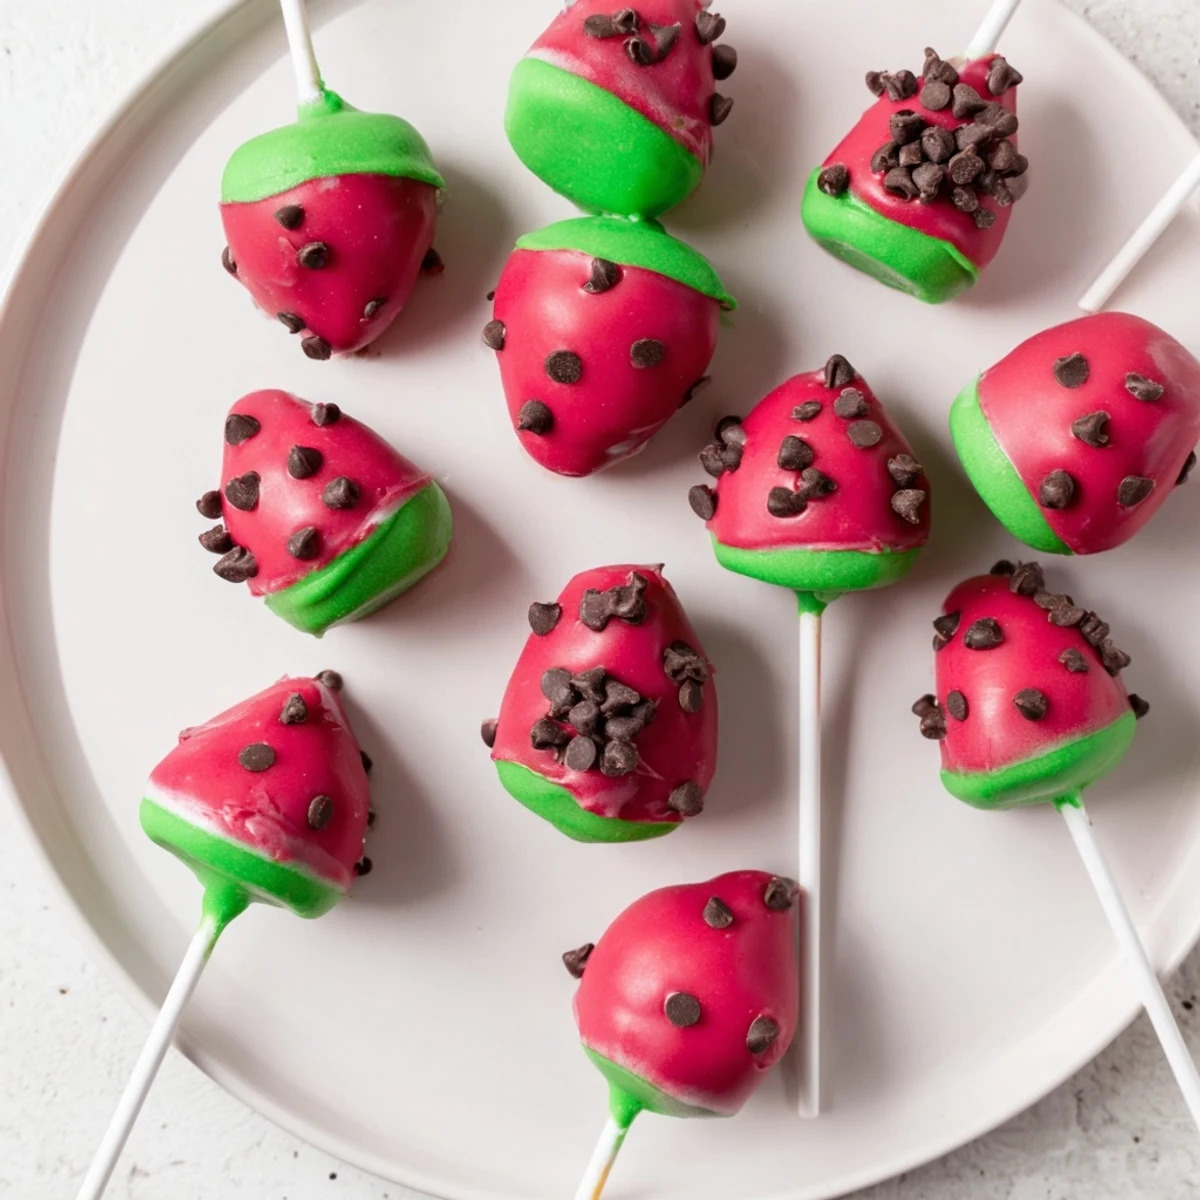
Save These refreshing bite-sized treats capture the essence of summer with their vibrant watermelon appearance. Made from moist vanilla cake blended with cream cheese frosting, each pop is shaped into a teardrop resembling a slice of watermelon. The pink coating mimics the juicy flesh while green candy creates the rind, and mini chocolate chips add realistic seeds. Ideal for outdoor celebrations, these handheld delights combine visual appeal with satisfying sweetness. The assembly process allows for creativity while remaining accessible for home bakers of all skill levels.
The first time I made watermelon cake pops was for my daughter's summer birthday party, and I honestly wasn't sure if pulling off miniature watermelon slices would work. But when I dipped that first one into the pink candy melts and added those tiny chocolate chip seeds, something magical happened. Now every summer, these little treats remind me of sticky fingers and happy kids running through the sprinklers.
Last summer, I brought a platter of these to our neighborhood block party and watched adults and kids alike light up when they realized what they were. My neighbor asked for the recipe three times throughout the afternoon because she couldn't believe something so adorable could taste this good. Now they're the first thing people ask about when party planning season rolls around.
Ingredients
- Vanilla cake mix or homemade cake: Using a box mix saves time but homemade cake gives you that tender, from scratch texture that really shines in cake pops
- Eggs, vegetable oil, and water: These three ingredients create the perfect cake structure for crumbling and reforming later
- Cream cheese: The tanginess balances the sweetness of the candy coating and adds that luxurious creamy texture to the frosting
- Unsalted butter: Room temperature butter blends seamlessly with the cream cheese for a smooth, spreadable frosting
- Powdered sugar: Sift it first to avoid any lumps in your frosting, which is crucial for smooth cake pop centers
- Vanilla extract: Pure vanilla makes a noticeable difference in the overall flavor profile
- Pink or red candy melts: These create that vibrant watermelon flesh look and the perfect hard shell exterior
- Green candy melts: The darker color mimics the watermelon rind beautifully and adds professional looking detail
- Lollipop sticks: Dip the tips in melted coating first to help them stay securely in the cake balls
- Mini chocolate chips: These tiny morsels become perfect watermelon seeds without any fuss
- Vegetable oil: Adding this to your melted candy melts creates that ideal dipping consistency
Instructions
- Bake your vanilla cake:
- Prepare the cake according to package directions or your favorite homemade recipe, then let it cool completely until it's room temperature throughout. Warm cake will melt your frosting and make the mixture too soft to work with.
- Whip up the creamy frosting:
- Beat the softened cream cheese and butter together until they're completely smooth and no lumps remain, then gradually add the powdered sugar and vanilla until you have a fluffy, spreadable consistency.
- Create the cake pop mixture:
- Crumble your completely cooled cake into fine crumbs in a large bowl, then add the frosting one spoonful at a time, mixing gently until the mixture holds together when squeezed but isn't overly wet or sticky.
- Shape them like watermelon slices:
- Roll the mixture into balls, then gently pinch and flatten one side to create a slight teardrop or wedge shape that mimics a slice of watermelon, keeping them all similar in size for even dipping.
- Prepare the sticks:
- Melt a small portion of your green candy melts in the microwave in thirty second intervals, dip about half an inch of each lollipop stick into the melted coating, then insert into the shaped cake balls and freeze for twenty minutes.
- Coat with pink and add seeds:
- Melt your pink candy melts with a teaspoon of vegetable oil for smooth dipping, then dip each chilled cake pop until almost completely coated, letting excess drip off before pressing three or four mini chocolate chips into the wet coating as seeds.
- Add the green rind:
- Dip just the bottom portion of each pop into the melted green candy melts to create that classic watermelon rind effect, then stand them upright in a styrofoam block or cake pop stand to set completely at room temperature.
 Save
Save These became my go to summer contribution after my niece's fourth birthday party, where they disappeared faster than anything else on the dessert table. Something about that watermelon illusion makes people smile before they even take that first bite.
Getting That Perfect Watermelon Shape
The trick to making these look authentic is in that slight wedge shape rather than perfect spheres. I learned this after my first batch looked more like pink Easter eggs than watermelon slices. Just gently press one side flat after rolling, and suddenly you have that recognizable crescent shape that makes the watermelon illusion work.
Working With Candy Melts
Candy melts can be temperamental, but I've found that melting them in short bursts and stirring thoroughly between each one makes all the difference. The oil helps achieve that perfect dipping consistency that covers smoothly without being too thick or too runny.
Making These Ahead Of Time
You can prepare the cake balls up to two days in advance and store them in the refrigerator, but wait to dip them until the day you plan to serve them for the freshest appearance. I once dipped them a day early and condensation made the coating turn spotty.
- Store undipped cake balls in an airtight container with parchment paper between layers
- If you must dip ahead, keep them in a cool, dry place away from humidity
- These freeze beautifully for up to a month if you need to get a serious head start
 Save
Save There's something deeply satisfying about biting into these little watermelon slices and getting that perfect combination of sweet, creamy, and chocolate studded goodness. They're summer on a stick, and that's a beautiful thing.
Common Questions
- → How far ahead can I make these?
-
Prepare the cake balls and chill for up to 2 days before coating. Once decorated, store in an airtight container in the refrigerator for 3-5 days. The candy coating protects the moist interior.
- → Can I freeze cake pops?
-
Yes, freeze undecorated cake balls for up to 1 month. Thaw overnight in the refrigerator before coating. Decorated pops can be frozen for 2-3 weeks though the candy coating may develop condensation.
- → What if my candy coating is too thick?
-
Add vegetable oil one teaspoon at a time, stirring thoroughly between additions. The oil creates a smooth, dippable consistency without compromising the hard finish.
- → How do I prevent sticks from falling out?
-
Dip each stick tip in melted coating before inserting into the cake ball. The candy acts as glue when it hardens. Chill for 20 minutes after inserting sticks before dipping.
- → Can I use real watermelon?
-
Real watermelon would make the mixture too wet. Instead, add watermelon extract or flavoring to the frosting for authentic taste without compromising texture.