Save
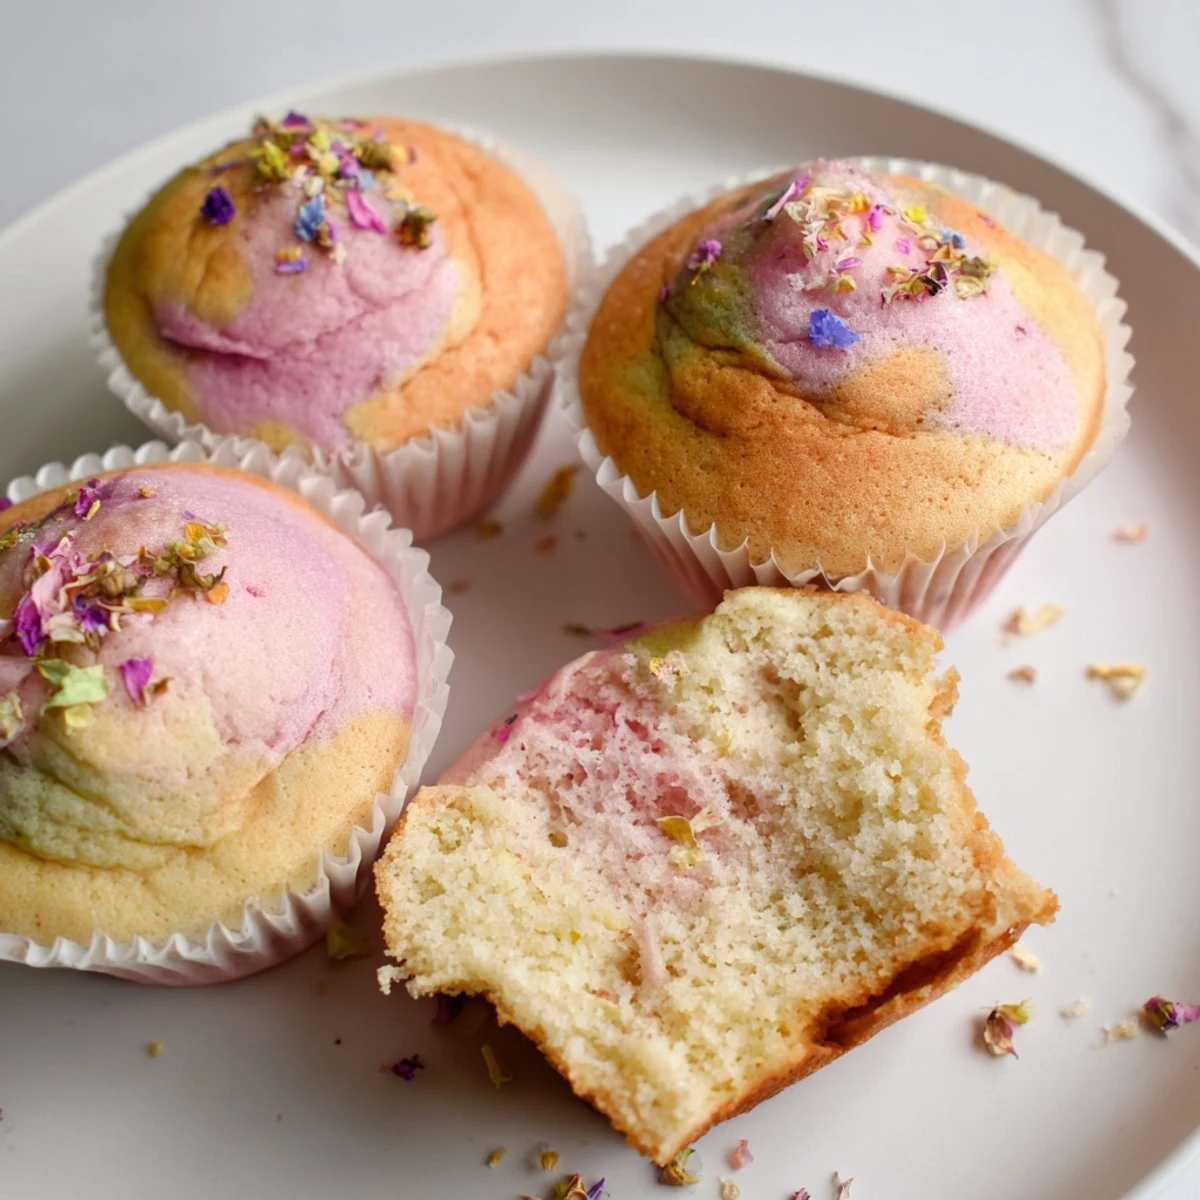
Save These elegant steamed cupcakes feature a distinctive cracked "blooming" appearance while remaining incredibly moist and tender inside. The steaming technique creates a uniquely fluffy texture that traditional baking can't achieve, making them perfect for when you want impressive homemade treats without turning on the oven.
The method involves combining basic pantry staples—flour, eggs, sugar, milk, and butter—then carefully steaming the batter in cupcake molds. As they cook, the tops naturally crack open creating a beautiful flower-like appearance. The entire process takes just 35 minutes from start to finish, yielding eight perfectly portioned treats.
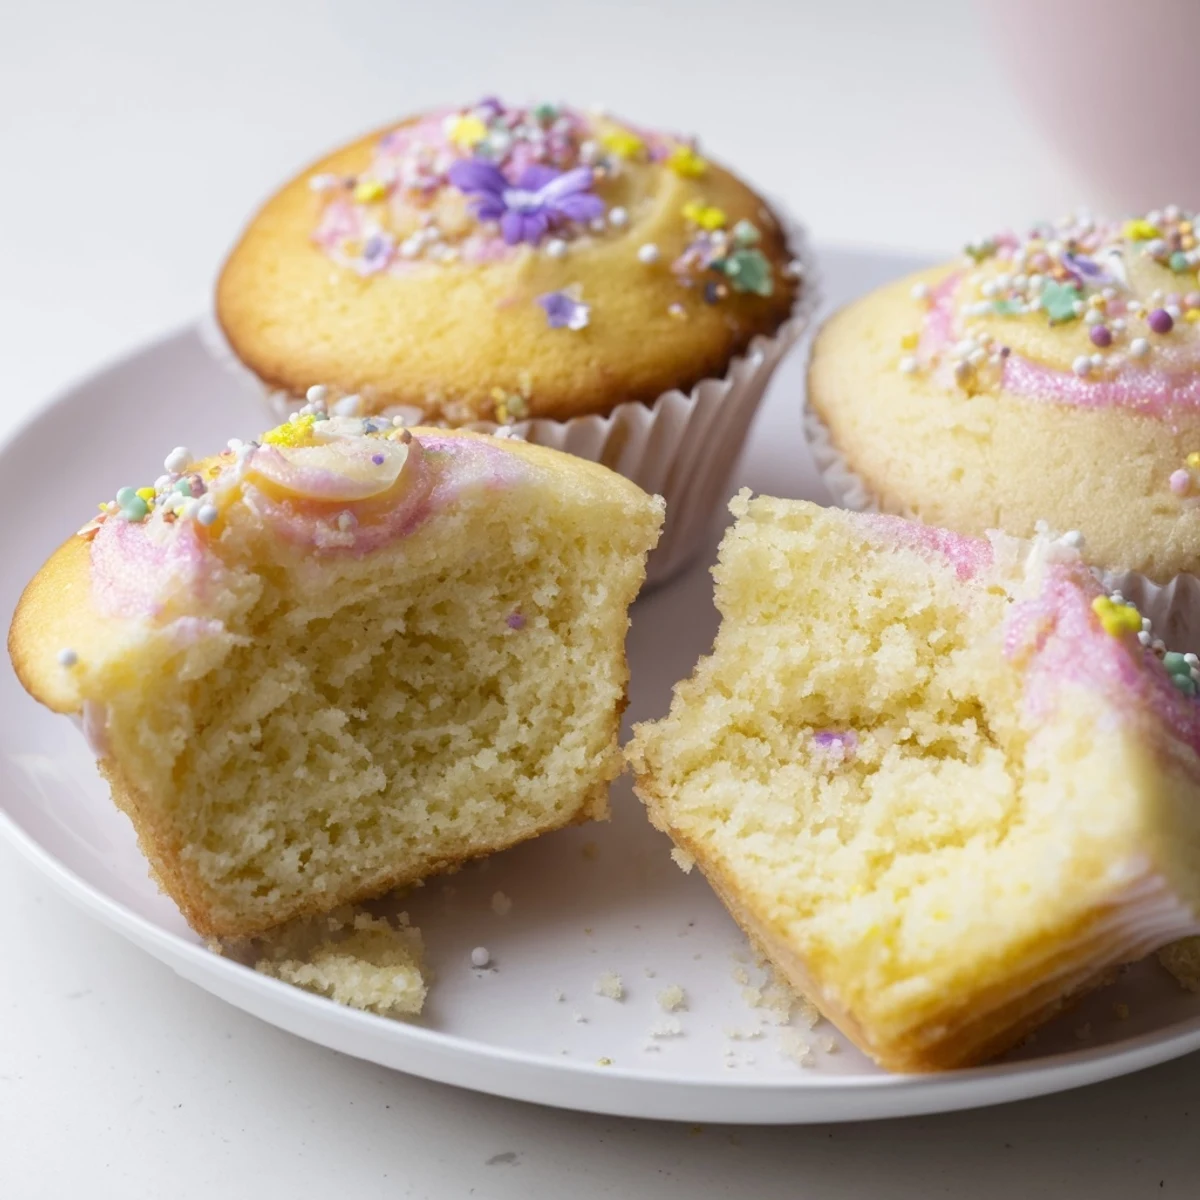
Customize these cupcakes with food coloring for vibrant layered effects, natural powders like matcha or beet for subtle hues, or keep them classic and simple. Decorate with sprinkles, edible flowers, or chocolate chips for an elegant finishing touch.
My tiny apartment kitchen didn't have an oven when I first moved in, and I'd been craving something sweet all week. These steamed cupcakes saved me from a dessert-less existence, and honestly, they turned out so impossibly fluffy that I almost forgot about baking entirely. The way they bloom open like little flowers in the steamer is still one of the most satisfying things I've ever watched happen in a pot.
I made these for my niece's birthday when I was visiting my sister, and she was absolutely fascinated by the whole steaming process. We sat on the kitchen floor watching through the glass lid as these little cakes rose and cracked open like tiny soufflés. Now she asks for steaming cupcakes every time I visit, and honestly, I'm just as excited to make them.
Ingredients
- All-purpose flour (1¾ cups): The structure builder here, but don't pack it down or measure directly over your mixing bowl
- Baking powder (1 tsp) and baking soda (½ tsp): This double team creates that gorgeous blooming effect as the steam hits the batter
- Salt (⅛ tsp): Just enough to wake up all the other flavors without tasting salty
- Granulated sugar (¾ cup): Sweetens and helps create that tender crumb we're after
- Eggs (2 large): Room temperature eggs incorporate better and give you that nice rise
- Whole milk (½ cup): Adds richness and keeps things moist
- Melted butter (⅓ cup): Butter gives better flavor than oil, but oil works fine if that's what you have
- Vanilla extract (1 tsp): Don't skimp here, real vanilla makes all the difference
- Food coloring: Gel colors work best without thinning the batter, but liquid is fine too
Instructions
- Get your steamer ready:
- Fill your steamer pot with water and bring it to a gentle simmer while you prepare the batter, then line your cupcake molds with paper liners
- Whisk the dry team together:
- In a medium bowl, combine the flour, baking powder, baking soda, and salt until everything is evenly distributed
- Beat the eggs and sugar:
- In your largest bowl, beat those eggs and sugar until they're pale and slightly thickened, then stir in the milk, melted butter, and vanilla
- Fold it all together:
- Gently add the dry ingredients to the wet mixture, folding just until combined, and remember that a few small lumps are perfectly fine
- Add some color if you want:
- Divide your batter and fold in food coloring, then layer or swirl the colors in your prepared molds for that blooming surprise inside
- Fill those molds:
- Spoon the batter into your lined cupcake molds, filling each about three quarters full to give them room to rise and bloom
- Steam with care:
- Place the molds in your steamer with space between them for circulation, and wrap the lid with a clean cloth so condensation doesn't ruin your beautiful blooming tops
- Watch the magic happen:
- Steam over medium heat for 12 to 15 minutes until a toothpick comes out clean and those gorgeous cracked tops have appeared
- The finishing touches:
- Let them cool just slightly, then decorate with sprinkles, edible flowers, or whatever makes you happy
 Save
Save These became my go-to dessert when I'm feeling anxious because the whole process is so meditative, and there's something incredibly comforting about watching food transform through steam. Plus, the way they crack open like little presents when they're done never fails to make me smile, no matter what kind of day I've had.
Getting The Perfect Bloom
The blooming happens because of the steam hitting the baking powder and soda, creating these gorgeous little cracks on top. I've learned that filling the molds exactly three quarters full gives them enough room to rise without overflowing, and medium heat is the sweet spot for consistent blooming every single time.
Flavor Adventures
Citrus zest folded into the batter brightens everything up beautifully, and I've had amazing results with almond or coconut extract when I want something more indulgent. Natural food colorings like matcha powder or beet juice not only look stunning but add subtle flavor layers that make people wonder what your secret ingredient is.
Storage And Serving Ideas
These are honestly best enjoyed fresh, but they'll keep in an airtight container for up to two days if somehow they last that long. Serve them slightly warm for maximum comfort food vibes.
- Try a simple glaze of powdered sugar and milk for extra sweetness
- Fresh berries on top make them feel fancy without much effort
- A dollop of whipped cream hides any imperfections and adds that finishing touch
 Save
Save There's something so joyful about making dessert without turning on your oven, especially in summer when the last thing you want is more heat in the kitchen. These little blooming cakes have become my unexpected secret weapon for bringing a smile to anyone's face.
Common Questions
- → Why do these cupcakes have a blooming top?
-
The beautiful blooming or cracked tops occur naturally during steaming as the batter expands and rises. The moist heat creates steam pockets within the batter, causing it to split open attractively while cooking. This characteristic is the signature of properly steamed cupcakes and indicates they've cooked through perfectly.
- → Can I make these without a steamer?
-
Yes, you can create a makeshift steamer using a large pot with a tight-fitting lid. Place a heat-proof bowl or inverted saucer at the bottom, add water, and set your cupcake molds on a rack above the water level. The key is ensuring the cups never touch the water directly and that steam can circulate freely around them.
- → How do I prevent water from dripping onto the cupcakes?
-
Wrap your steamer lid with a clean kitchen cloth or towel before covering. This simple trick catches condensation that would otherwise drip back onto the cupcakes, preventing soggy spots and ensuring even cooking. Make sure the cloth is secure and won't touch the heating element.
- → Can I substitute ingredients for dietary restrictions?
-
Absolutely. Replace all-purpose flour with a 1:1 gluten-free baking blend, use plant-based milk instead of dairy, and swap butter for coconut oil or vegan butter. For egg-free versions, try flax eggs or commercial egg replacers. Keep in mind that texture may vary slightly from the original.
- → How should I store these cupcakes?
-
Store cooled cupcakes in an airtight container at room temperature for up to 2 days. For longer storage, refrigerate for up to 5 days, though they may lose some moisture. These freeze beautifully—wrap individually and freeze for up to 3 months. Thaw at room temperature before serving.
- → Why is my batter curdled when mixing?
-
Slight curdling can occur when adding liquid ingredients to eggs, especially if they're cold. This won't affect the final result. However, ensure all ingredients are at room temperature before mixing, and add liquids gradually while whisking continuously. The batter will smooth out once dry ingredients are incorporated.