 Save
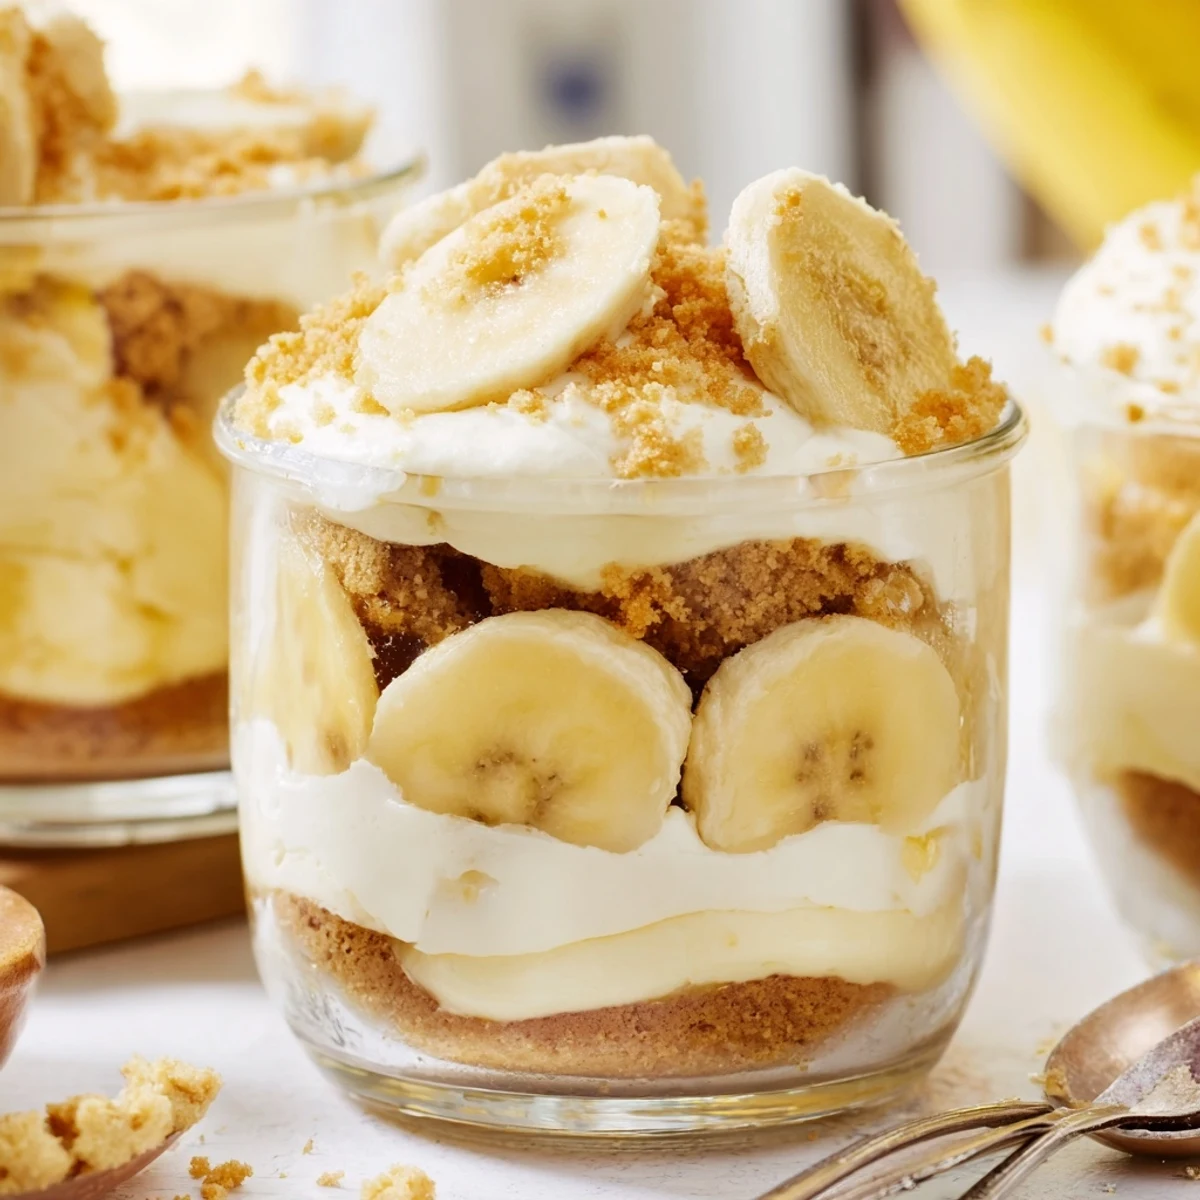
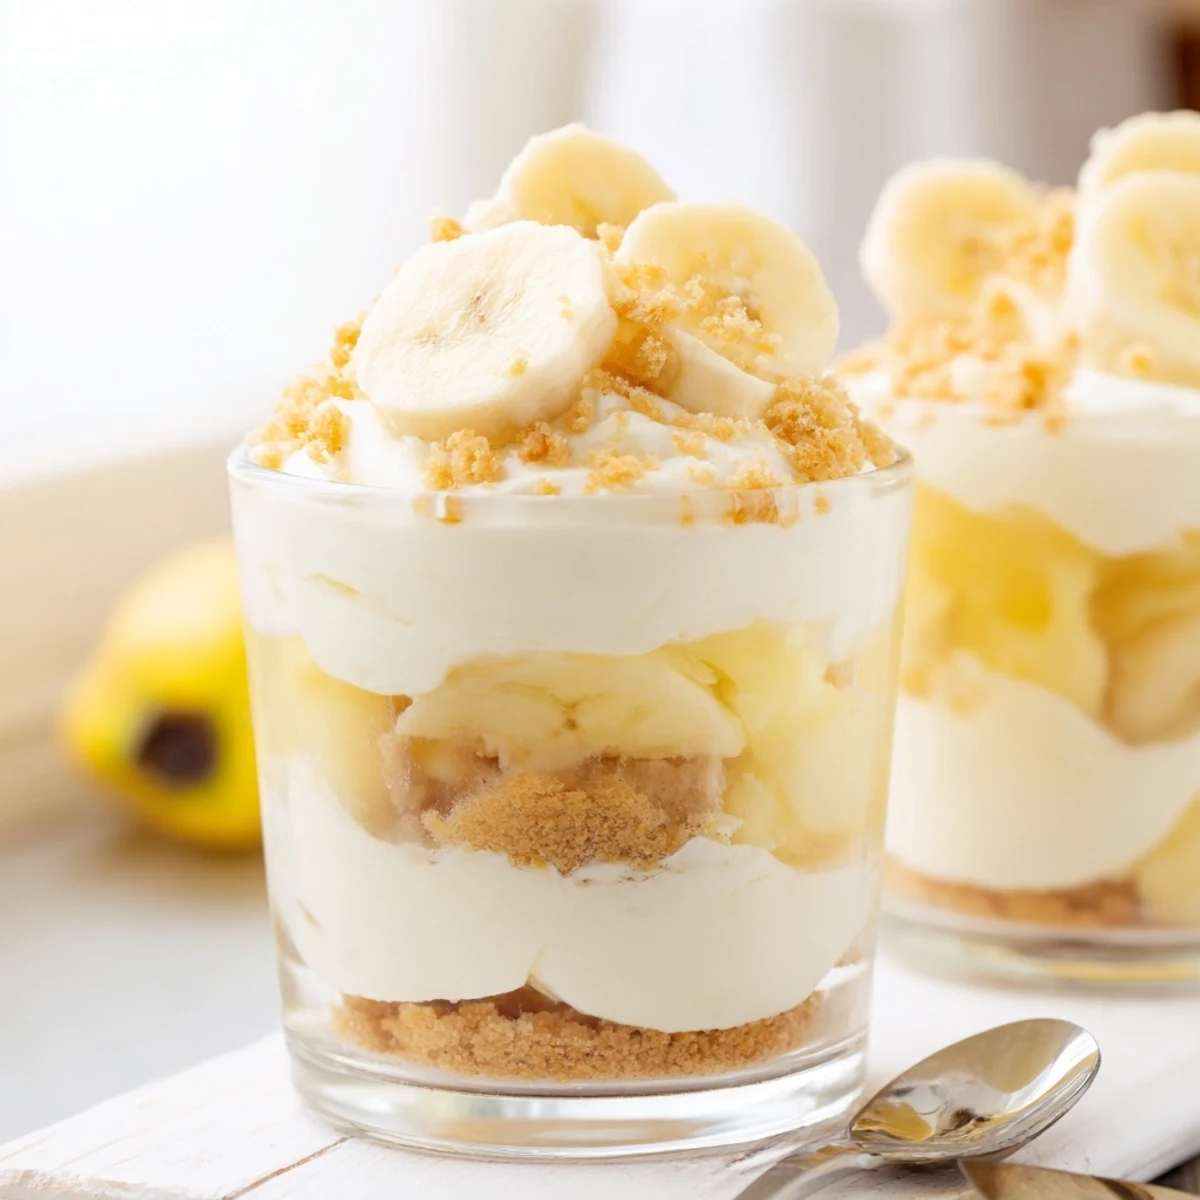
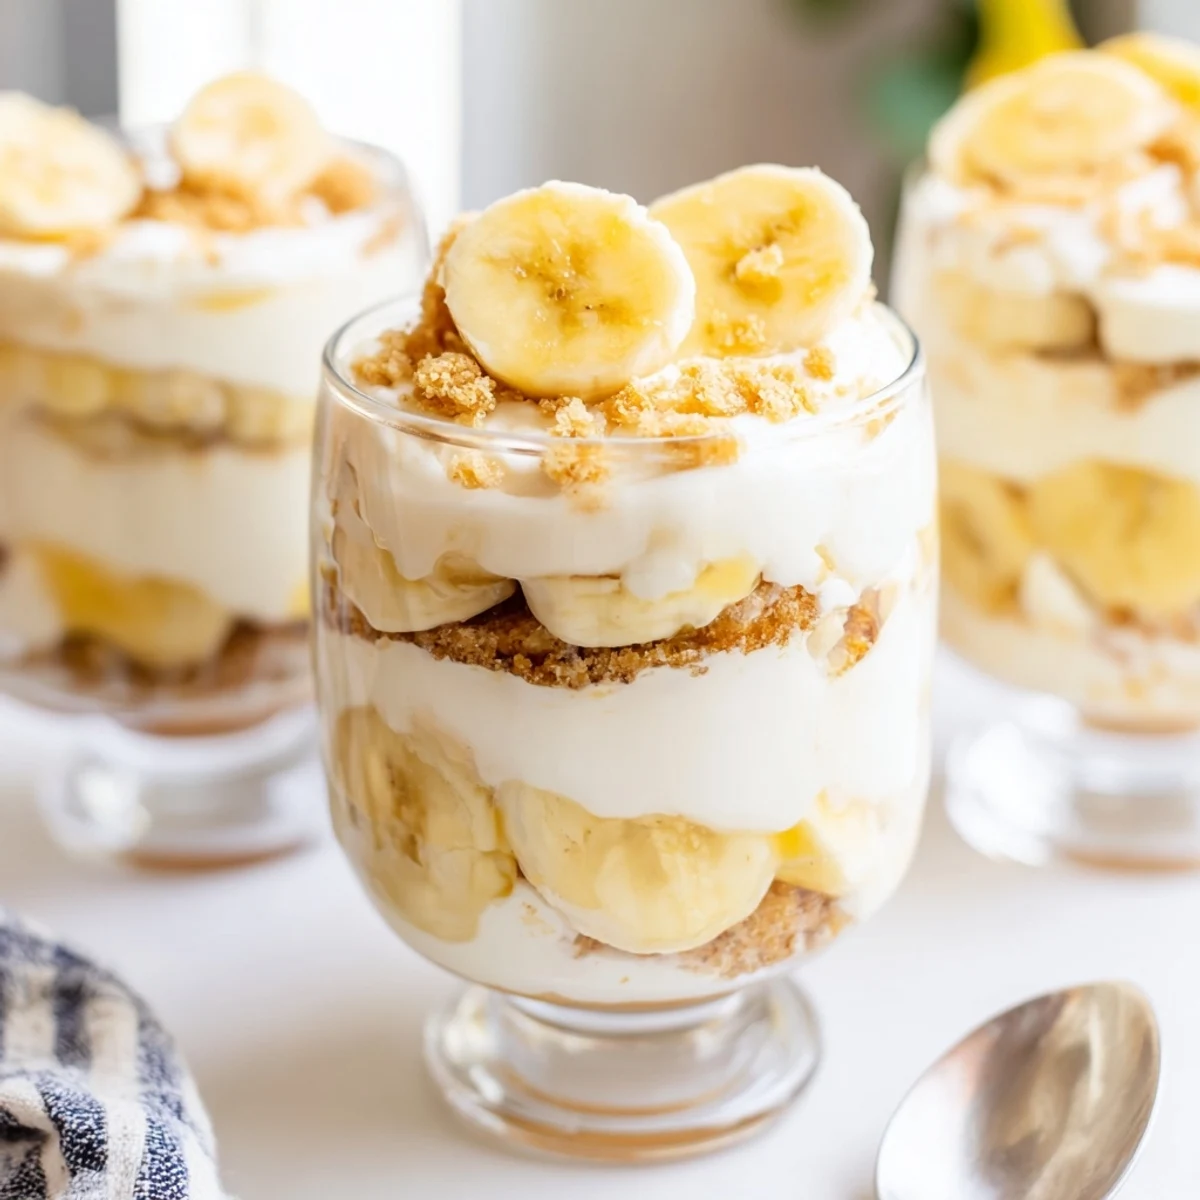
Save These individual no-bake cups combine the best of two classic desserts—creamy cheesecake and nostalgic banana pudding. The vanilla wafer crust provides a crunchy foundation, followed by velvety layers of cheesecake filling and sweet banana pudding. Fresh banana slices add natural sweetness and texture throughout.
What makes these cups special is the combination of textures and flavors in every bite. The crisp buttery crust contrasts beautifully with the smooth, creamy fillings, while fresh banana brings brightness and familiar comfort. Each cup is perfectly portioned for easy serving and looks impressive with the layered presentation.
Preparation takes just 20 minutes, and the hardest part is waiting for them to chill. Make them ahead for parties, potlucks, or whenever you want an impressive dessert without turning on the oven. The individual portions also make them ideal for picnics and outdoor gatherings.
The first time I made these individual cups, my kitchen counter looked like a science experiment gone wrong. There were bowls everywhere, cream cheese on my phone somehow, and I may have eaten more vanilla wafers than actually made it into the crust. But that first spoonful changed everything about how I think about dessert portion sizes.
I brought these to a dinner party last summer and watched my friend Sarah literally scrape her cup with her spoon. She doesnt even like banana pudding, but something about that cheesecake layer won her over. Now she texts me every few weeks asking when Im making them again.
Ingredients
- 1 cup vanilla wafer cookies, crushed: These create that nostalgic banana pudding flavor base. Pulse them in a food processor or put them in a ziplock bag and crush with a rolling pin.
- 2 tbsp unsalted butter, melted: Just enough to bind the crumbs together. I learned the hard way that more butter makes the crust soggy.
- 8 oz (225 g) cream cheese, softened: Leave it out for at least an hour. Cold cream cheese creates lumps that no amount of mixing can fix.
- 1/3 cup granulated sugar: This sweetens the cheesecake layer without making it cloying.
- 1 tsp pure vanilla extract: Dont skimp here. Real vanilla makes the cream cheese taste like premium cheesecake.
- 1 cup heavy whipping cream, cold: The secret to that fluffy cheesecake texture. I chill my bowl and whisk too.
- 1 (3.4 oz/96 g) package instant banana pudding mix: Yes, instant is fine here. The homemade filling would make these too time-consuming.
- 1 1/4 cups cold whole milk: Cold milk helps the pudding set up properly.
- 2 ripe bananas, sliced: Look for bananas with some brown spots. They have more banana flavor and sweetness.
- Additional vanilla wafer crumbs, fresh banana slices, and whipped cream: For topping and making them look irresistible.
Instructions
- Build the crust foundation:
- In a small bowl, combine crushed vanilla wafers and melted butter. Mix until evenly moistened. Spoon about 2 tablespoons into the bottom of each serving cup and press lightly with the back of a spoon to form the crust.
- Make the cheesecake base:
- In a medium bowl, beat cream cheese, sugar, and vanilla extract with a hand mixer until smooth and creamy. Take your time here and scrape the bowl down.
- Create the fluffy filling:
- In a separate bowl, whip the cold heavy cream until stiff peaks form. Gently fold the whipped cream into the cream cheese mixture until fully combined.
- Prepare the pudding layer:
- In another bowl, whisk together the banana pudding mix and cold milk for 2 minutes until thickened.
- Start layering:
- Layer cheesecake filling over the crust in each cup, using about half the mixture. Add a layer of sliced bananas over the cheesecake filling.
- Add the pudding:
- Spoon banana pudding over the banana layer, dividing evenly among cups. Top with remaining cheesecake mixture.
- Finish and chill:
- Sprinkle each cup with additional wafer crumbs, more banana slices, and a dollop of whipped cream if desired. Cover and refrigerate the cups for at least 2 hours before serving.
 Save
Save My daughter helped me make a batch for her birthday and insisted on adding extra whipped cream to every single cup. She called them banana cloud cups and honestly, she was onto something.
Choosing the Right Serving Cups
I use clear glass dessert cups because seeing those layers is half the fun. Mason jars work beautifully too. Just make sure theyre at least 8 ounces so you have room for all the layers without making a mess.
Making These Ahead
The beauty of these cups is they actually taste better after sitting overnight. The flavors meld together and the crust softens slightly. I make them the night before a party and keep them covered in the fridge.
Getting Those Layers Perfect
The trick to clean layers is using the back of a spoon and working gently. Dont press down hard or your layers will blur together. Pipe the cheesecake filling using a ziplock bag with the corner cut off for the most professional look.
- Use a clear glass so you can see where your layers are landing
- Chill your cups between layers for 15 minutes if you want extra definition
- Wipe the inside of the glass with a paper towel if you smudge it
 Save
Save These little cups have become my go-to when I want to make something impressive without actually turning on my oven.
Common Questions
- → Can I make these cups ahead of time?
-
Yes, these cups can be prepared up to 24 hours in advance. Store them covered in the refrigerator, but add fresh banana slices and whipped cream topping just before serving to prevent browning and maintain texture.
- → What type of cups work best for serving?
-
Clear glass cups, mason jars, or dessert glasses work beautifully as they showcase the attractive layers. Each serving should hold about 8-10 ounces. Shot glasses work for smaller bite-sized versions.
- → How do I prevent bananas from turning brown?
-
Toss sliced bananas lightly in lemon juice before layering to slow oxidation. You can also add banana slices just before serving. The pudding layer also helps protect bananas from air exposure.
- → Can I use homemade pudding instead of instant mix?
-
Absolutely. Homemade vanilla or banana pudding made from scratch works wonderfully. Allow it to cool completely before layering, and adjust sugar if needed since homemade versions may be less sweet than instant mixes.
- → What's the best way to crush vanilla wafers for the crust?
-
Place wafers in a sealed plastic bag and crush with a rolling pin, or pulse in a food processor until fine crumbs form. You want texture similar to graham cracker crumbs for the best pressing results.
- → Can I freeze these cheesecake cups?
-
Freezing isn't recommended due to the fresh bananas and pudding texture, which can become watery when thawed. The cheesecake layer alone would freeze well, but the assembled cups are best enjoyed fresh from the refrigerator.