 Save
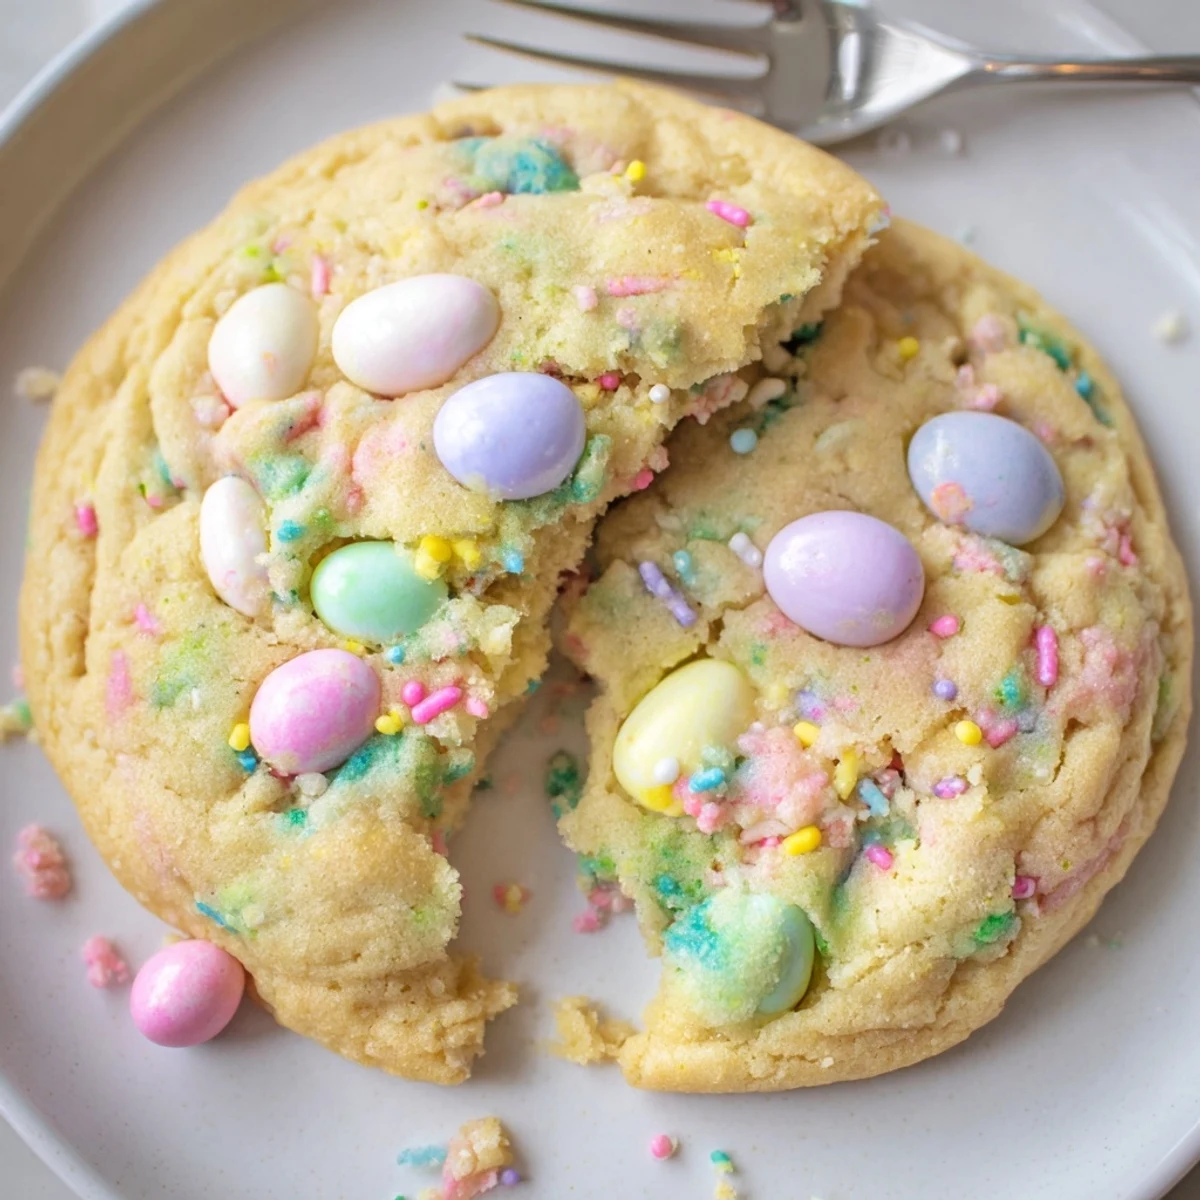
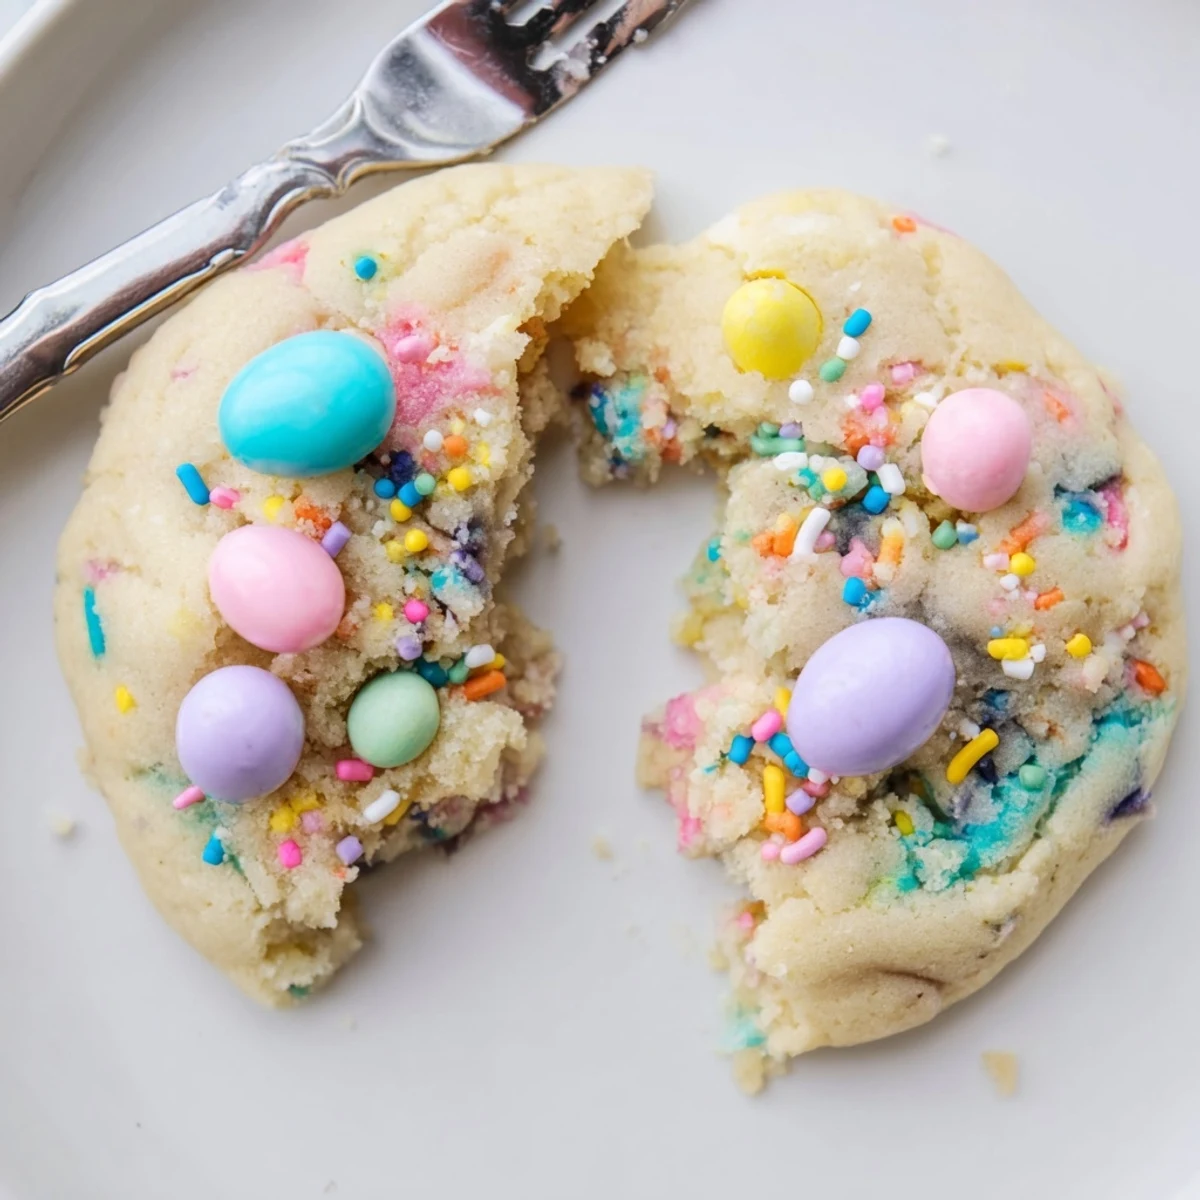
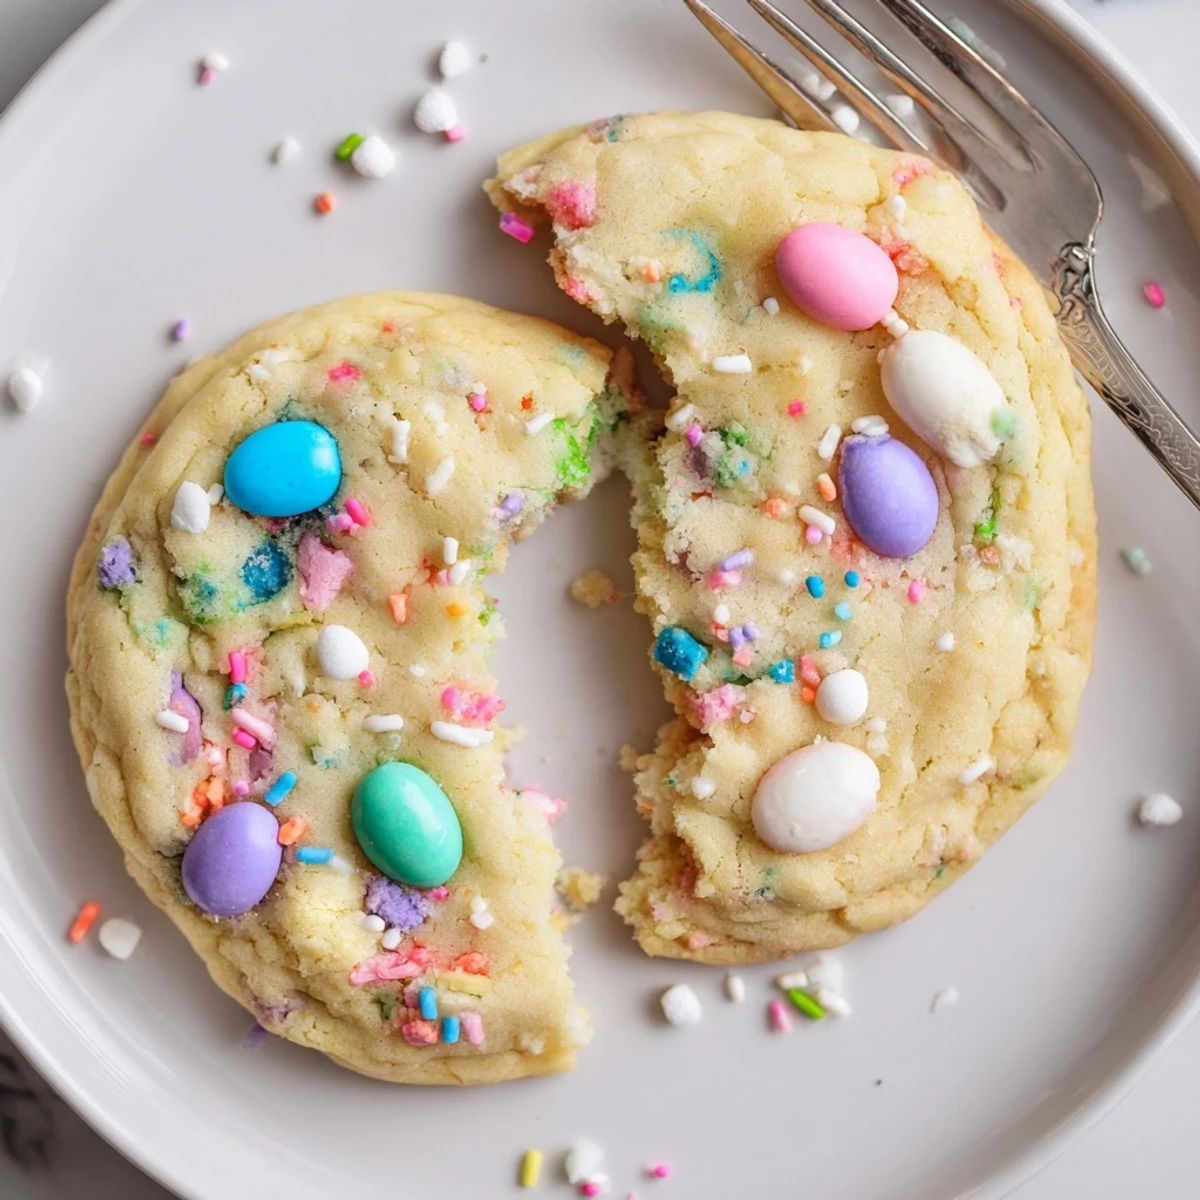
Save These soft Easter Funfetti cookies bake in about 9–11 minutes and yield 24 tender rounds. Cream butter and sugars until light and fluffy, beat in eggs and vanilla, then fold in dry ingredients with pastel sprinkles and candy-coated chocolates. Scoop tablespoon portions, space about 2 inches apart, and avoid overbaking for a soft center. Press extra candies on top for added color and store airtight up to five days.
The spring breeze through my open kitchen window always seems to carry a hint of mischief, especially when I bake these Easter Funfetti Cookies. The first time I made them, pastel sprinkles ended up everywhere—like confetti from a party I hadn't realized I'd thrown. I caught my neighbor's daughter peeking in, nose pressed to the screen, following the sweet scent. Suddenly, baking them turned into a small, unexpected celebration just because it was Thursday.
I remember setting out the pastel M&Ms in a little glass bowl, only to see my cousin sneak a handful behind my back. We ended up baking extra just so everyone could snitch a few candies with no guilt, and laughter mixed right in with the vanilla scent.
Ingredients
- All-purpose flour: Gives these cookies their sturdy but soft chew; for fluffy results, fluff the flour before measuring.
- Baking soda: Just the right lift—don’t skip the level measure, or the cookies will spread too thin.
- Salt: A pinch brings the sweetness to life, so don’t leave it out.
- Unsalted butter: Let it soften to room temp to make creaming easy and dough deliciously tender.
- Granulated sugar: Brings the classic cookie sweetness and a crisp hint to the edges.
- Light brown sugar: Adds a subtle caramel flavor and helps keep the centers tender.
- Large eggs: Bind everything together and add a bit of richness—crack them separately just in case.
- Vanilla extract: Makes the dough smell like cake batter in the best way.
- Pastel-colored sprinkles (jimmies or confetti style): The dash of cheer; jimmies hold up best without melting.
- Easter-themed candy-coated chocolates: They bring crunch and color—save a few to press onto the tops before baking for that bakery look.
Instructions
- Set the scene:
- Preheat your oven to 350°F (175°C) and line two baking sheets with parchment, the crinkling sound always feels like the start of something good.
- Mix the dry:
- Whisk together the flour, baking soda, and salt until it all looks like pale sand—there shouldn’t be any streaks.
- Cream the magic:
- In a big mixing bowl, beat the softened butter and both sugars until they’re fluffy like soft clouds (about 2–3 minutes).
- Egg time:
- Add eggs one at a time, mixing each until you don’t see streaks, then stir in vanilla for that warm bakery scent.
- Combine the worlds:
- Gradually add your dry mixture to wet, mixing just until it’s all moistened, then stop—don’t overwork the dough.
- Add the party:
- Gently fold in the sprinkles and Easter candies, letting the colors swirl without getting crushed.
- Shape the joy:
- Scoop out tablespoon-sized balls and give them plenty of space to dance on the baking sheets.
- Bake to perfection:
- Bake 9–11 minutes, just until the edges are golden and centers look soft—trust that set-but-soft look.
- Cool and drool:
- Let the cookies cool on their trays for a dreamy 5 minutes, then shift them to a wire rack so they don’t keep baking underneath.
 Save
Save The day my niece called these 'unicorn cookies,' we ended up making an impromptu batch for her entire soccer team. Watching their faces light up over such a simple treat really made me realize that baking these is about so much more than the recipe—it’s sharing a bit of celebration, pastel crumbs and all.
How to Make These Your Own
If you fancy switching things up, toss in chopped marshmallows or use white chocolate chips if pastel chocolates aren’t handy. I once tried mini malt eggs for a playful crunch, and everyone guessed there was a bakery secret. Above all, letting kids pick their own sprinkle colors turns baking into a memory rather than just a task.
Storage and Freshness
These cookies keep their softness for days if you store them right. Once cooled, they go into a tin or airtight container—tucking in a slice of bread works wonders if your house gets dry. I even freeze a few in case we need last-minute dessert after a long day.
Troubleshooting Little Cookie Quirks
Sometimes, cookies spread too much—that usually means the butter was a bit too warm or you packed flour loosely. If your cookies came out flatter than you hoped, chill the dough thirty minutes next time. If they seem dry, double check your flour measurement and stop mixing as soon as things come together.
- If candies look faded after baking, press extra on top while warm.
- Make ahead and freeze the dough in balls for a future treat.
- Use jimmies sprinkles, not nonpareils, to avoid bleeding colors.
 Save
Save May these cookies add a bit of color and whimsy to your table—no matter the occasion. Sometimes the happiest memories are sprinkled with a little powdered sugar and laughter.
Common Questions
- → How do I keep the cookies soft?
-
Do not overbake: remove when edges are just golden and centers look slightly underdone. Using a mix of granulated and brown sugar helps retain moisture, and letting cookies cool briefly on the baking sheet finishes the set while keeping interiors tender.
- → Why do some cookies spread too much?
-
Over-softened butter or warm dough can cause excess spreading. Chill scooped dough for 10–15 minutes if your kitchen is very warm, and be sure to measure flour accurately—too little flour leads to flatter cookies.
- → Can I swap the candy-coated chocolates?
-
Yes. White chocolate chips, chopped pastel candy, or small chocolate chunks work well. Choose firm mix-ins that hold their shape while baking to preserve texture and color contrast.
- → How should I store these cookies?
-
Cool completely, then store in an airtight container at room temperature for up to five days. Layer with parchment to prevent sticking and preserve the sprinkle color and candy crunch.
- → Can the dough be frozen?
-
Yes. Scoop dough into tablespoon portions on a lined tray, freeze until firm, then transfer to a sealed bag. Bake from frozen, adding a minute or two to the bake time and watching for the proper edge color.
- → Any tips for even size and bake?
-
Use a tablespoon scoop for uniform portions and space them about 2 inches apart. Rotate baking sheets halfway through a rack swap if baking multiple sheets to ensure even color and texture.